Product & order
Please follow the steps below to install addons after completing the backend configuration.
Step 1:
For SaaS: Login as Superadmin
For Non-SaaS: login to Admin panel
Step 2: Extract the purchase zip folder.

Step 3: Open the purchased zip folder. Inside, you will find an addon zip folder ready for upload according to the following steps.

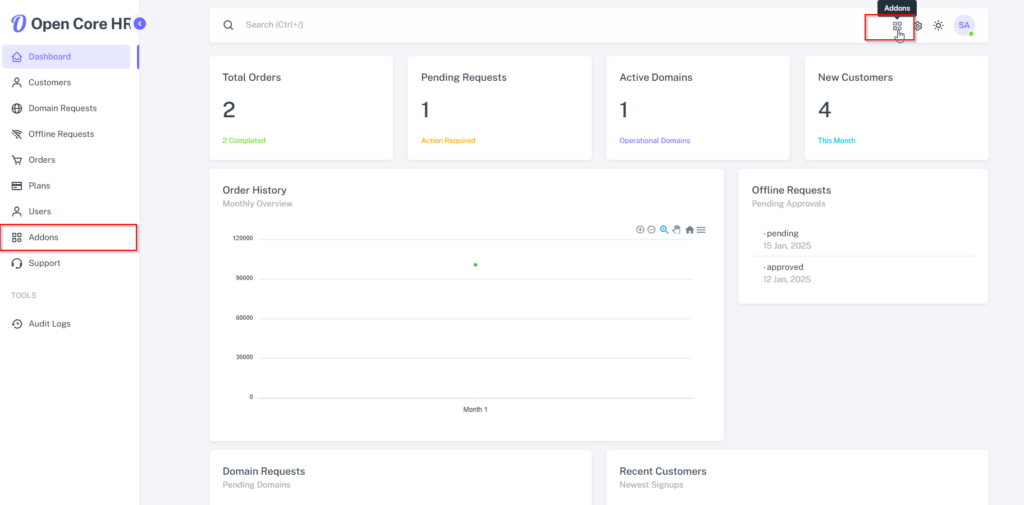
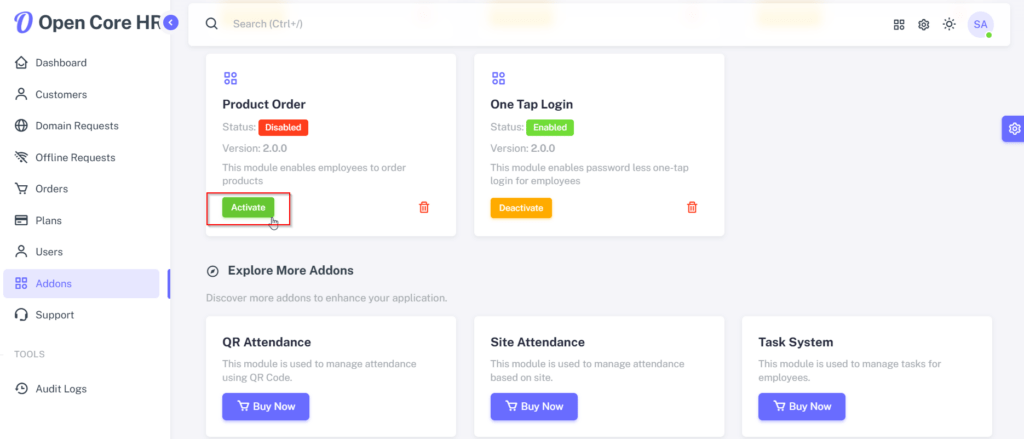
Step 4: Go to your admin / superadmin dashboard and click on the addons section located at the top right navigation bar or on the sidebar.
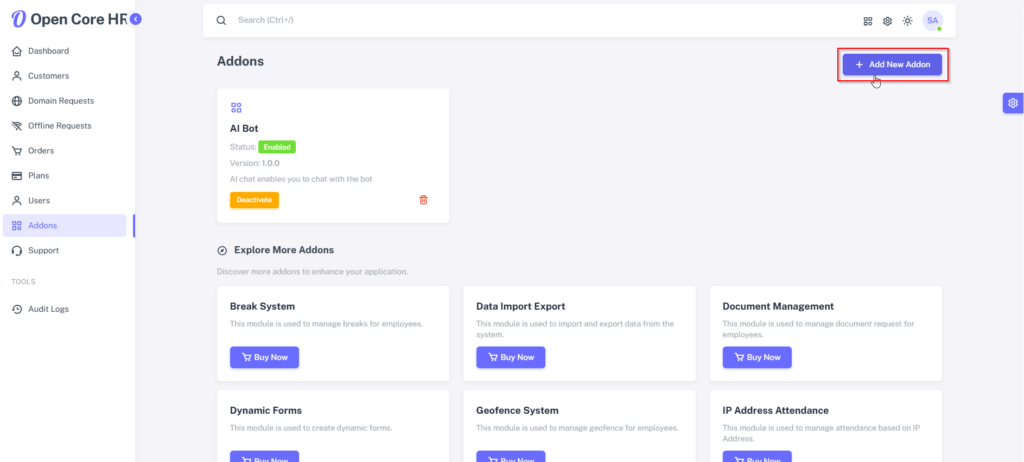
Step 5: Now, click on the ‘Add New Addon’ button.
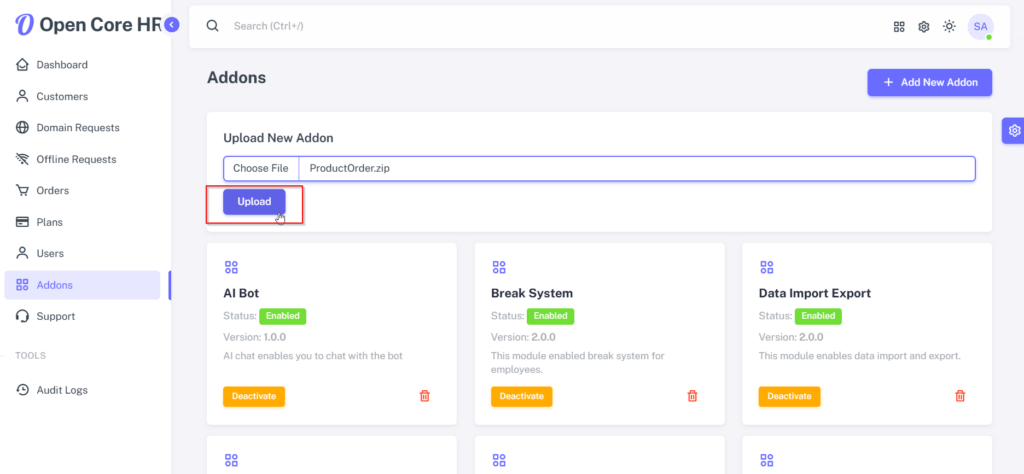
Step 6: Select the addon zip file from the extracted purchased folder and click ‘Upload’.
WARNING: You should upload the addon zip file, not the purchased zip file.
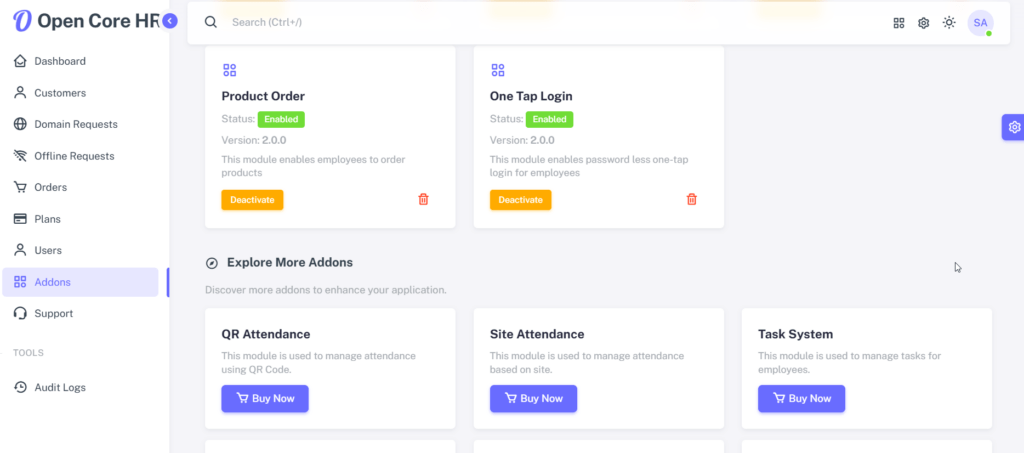
Step 7: Then click the ‘Activate’ button to complete the process.
NOTE: Once your file is uploaded, you will receive a notification stating, "Module enabled successfully".
Step 8: The addon has been set successfully.