Firebase Account Setup
We use firebase for push notifications, so in this section, we’ll set up the firebase project. Later we’ll configure it in the Admin Panel and Flutter.
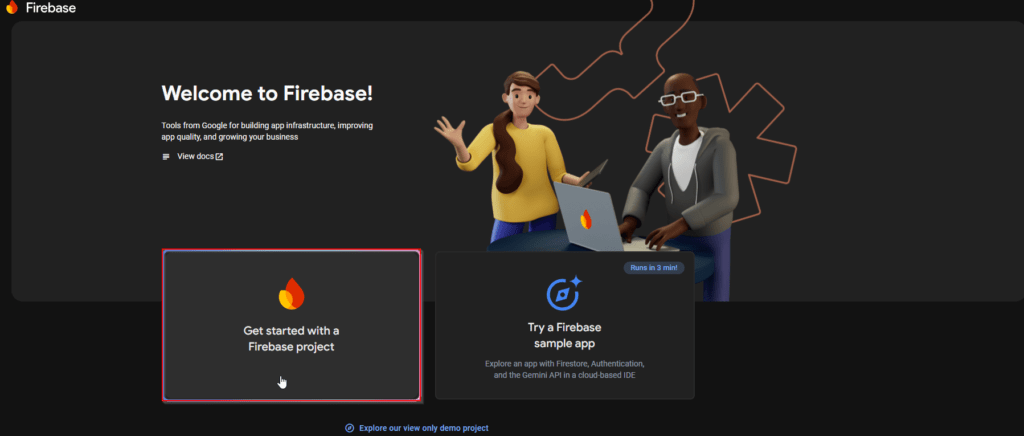
Step 1: Log into the firebase console (https://console.firebase.google.com/) and click on create a project.
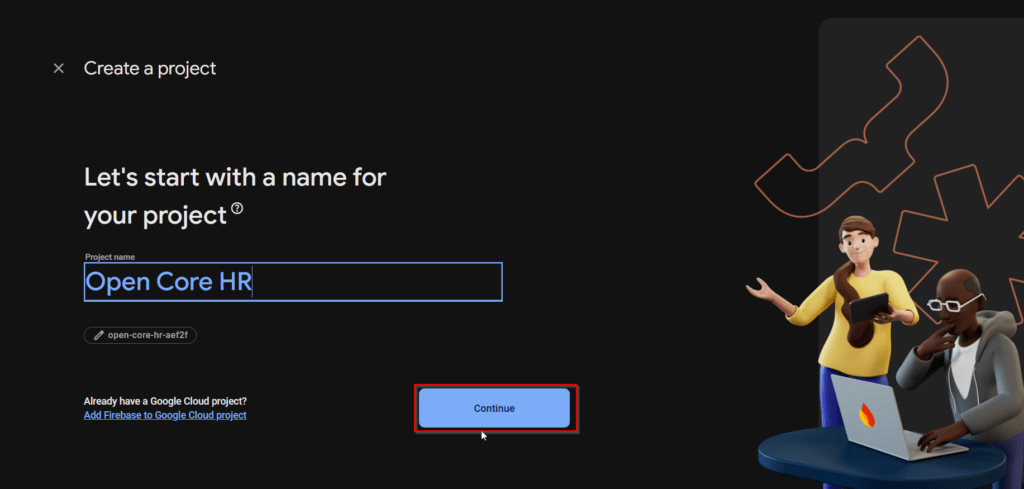
Step 2: Give a name to the project.
Step 3: Review and click continue.
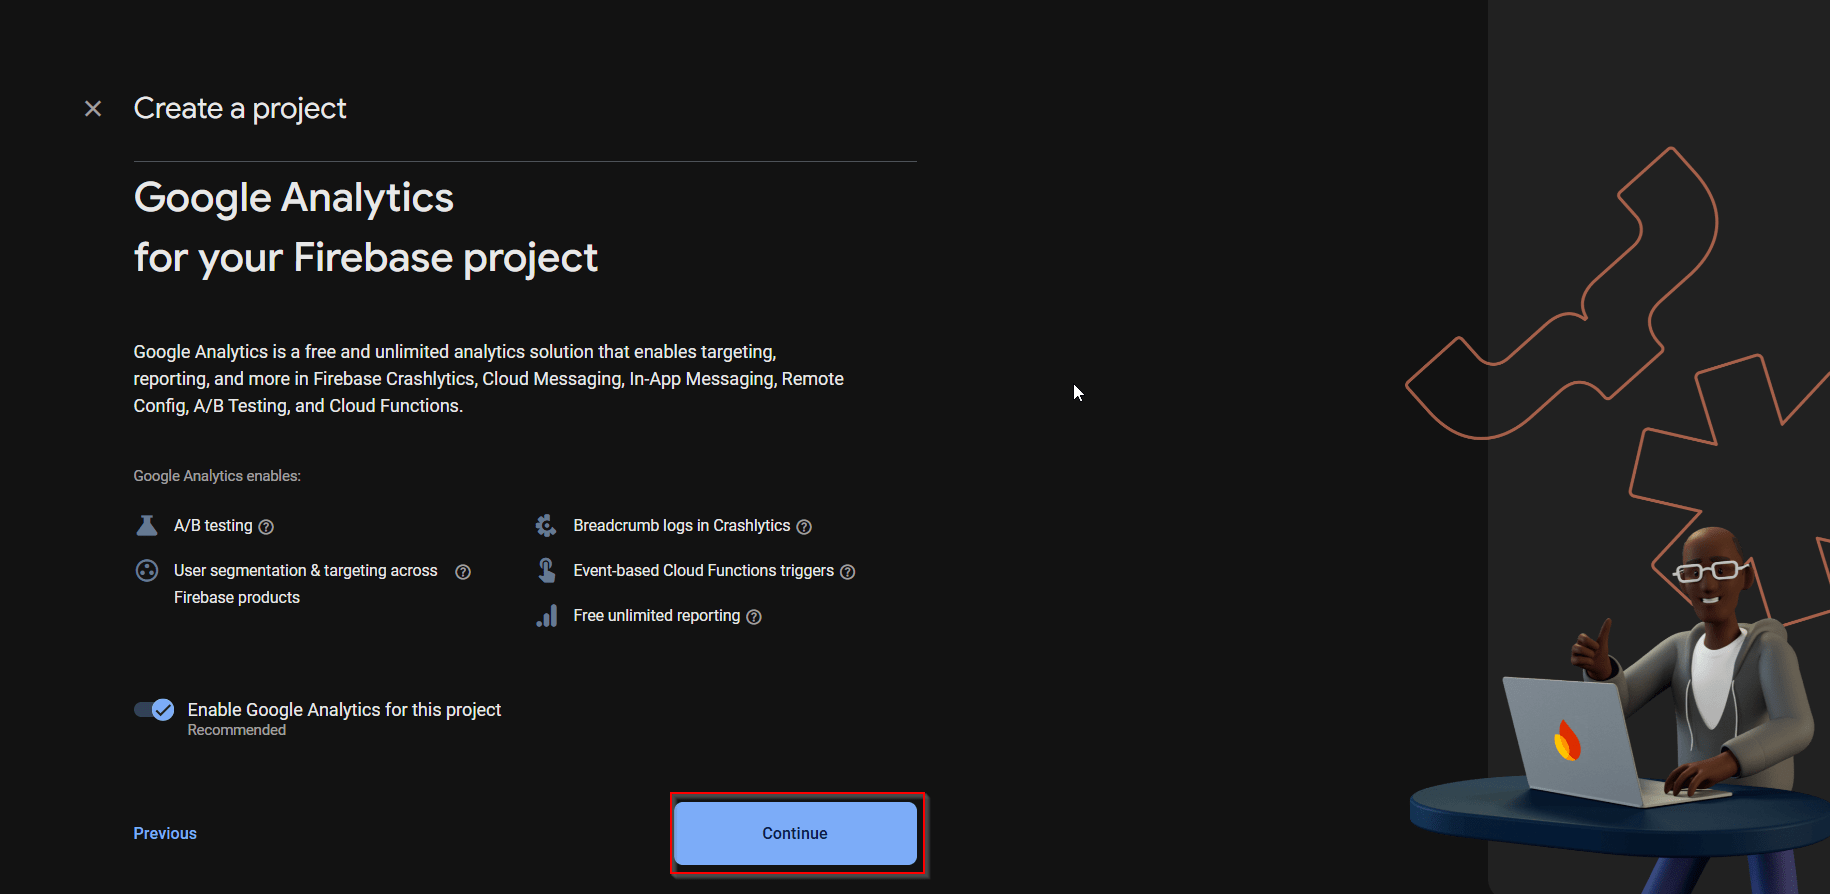
Step 4: Choose the Google Analytics project if you have enabled Google Analytics for this project, then click Create a project.

Step 5: Once the project is created, go to the Firebase dashboard screen. Then click the settings gear icon in the top left corner and select the project setting.
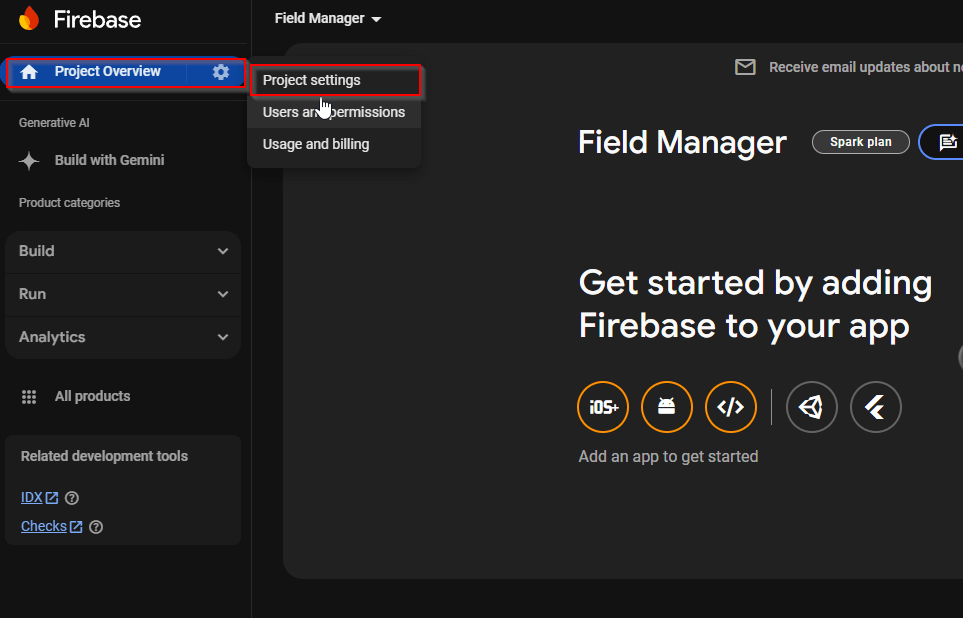
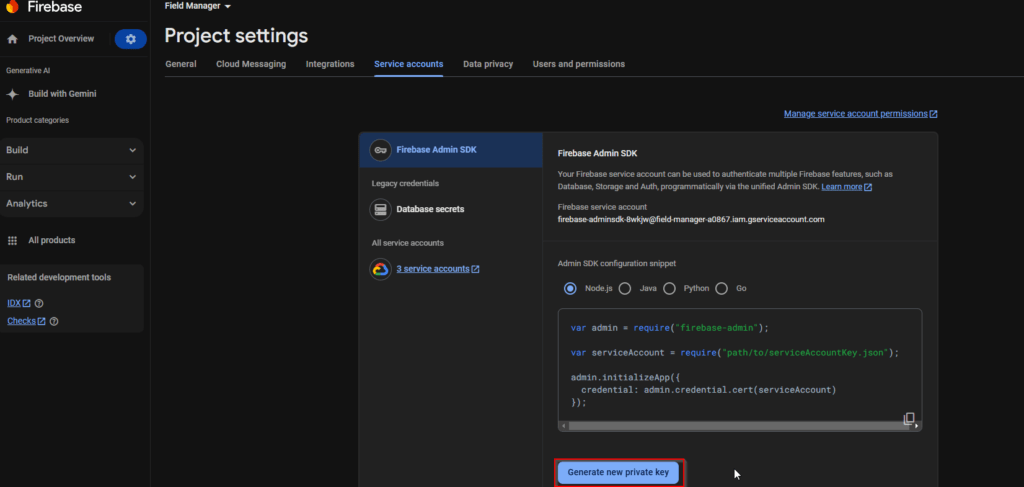
Step 6: In the project settings select the Service accounts tab and click Generate new private key.
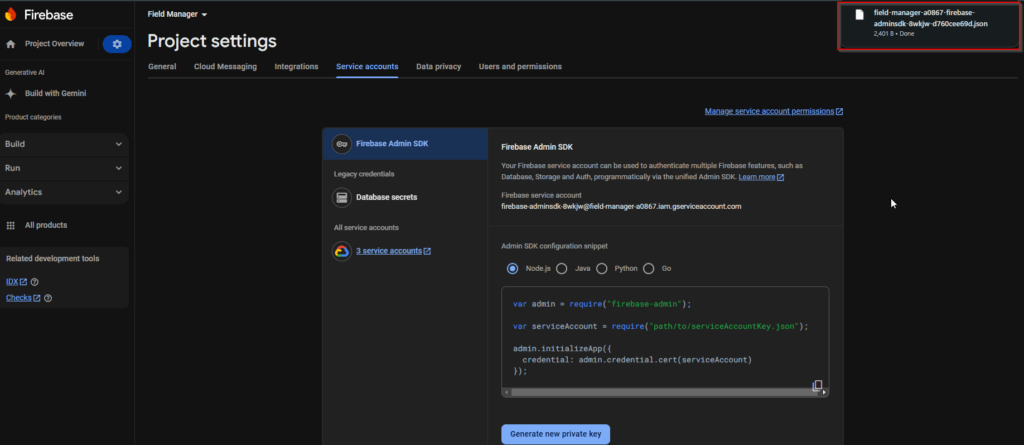
Step 7: You can see the generated new private key in the downloads.
Step 8: Open the downloaded file and copy the values.
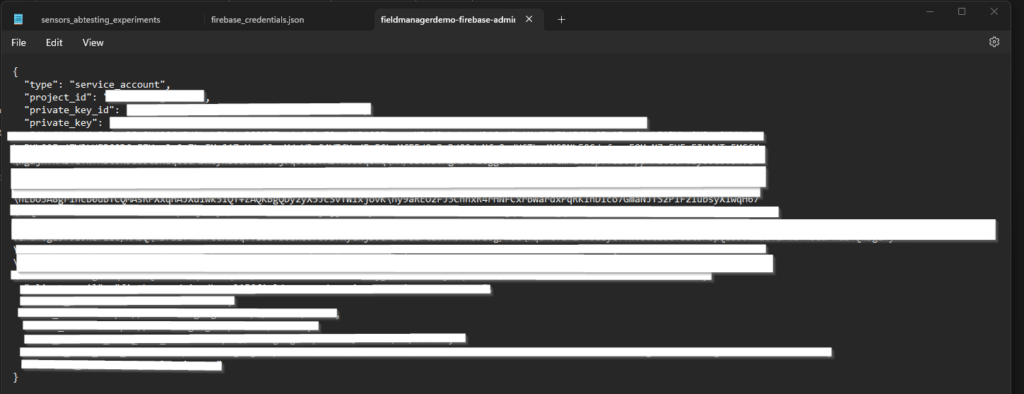
Step 9: Then, paste these values in the FieldManager_Laravel_Server file -> firebase_credentials.json file.
You have to set up the Google Cloud Account with Active billing first see this section.
