Server Setup
In this section, you can find the complete instructions on how to set up and configure your Admin Panel.
Basic Setup #
Step 1: Log in to your Control panel.
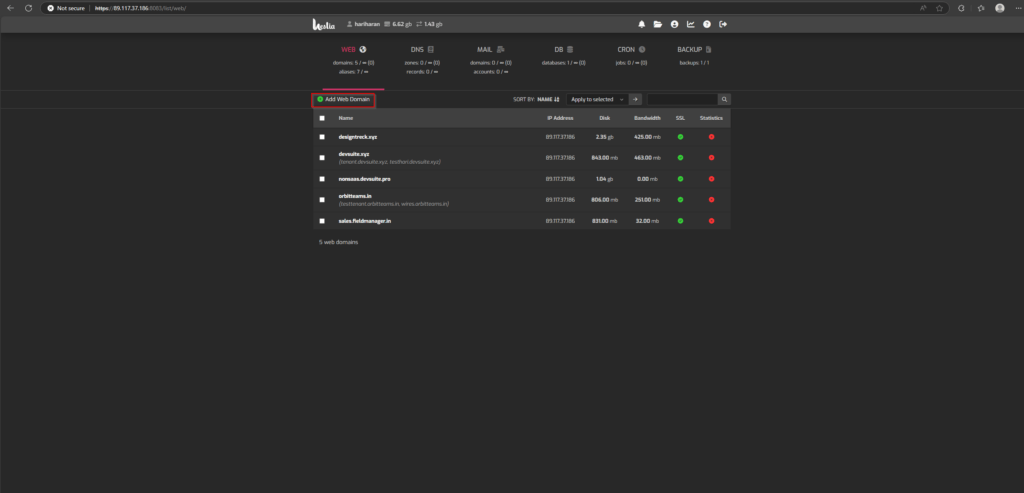
Step 2: Add a Domain by clicking “Add Web Domain”.
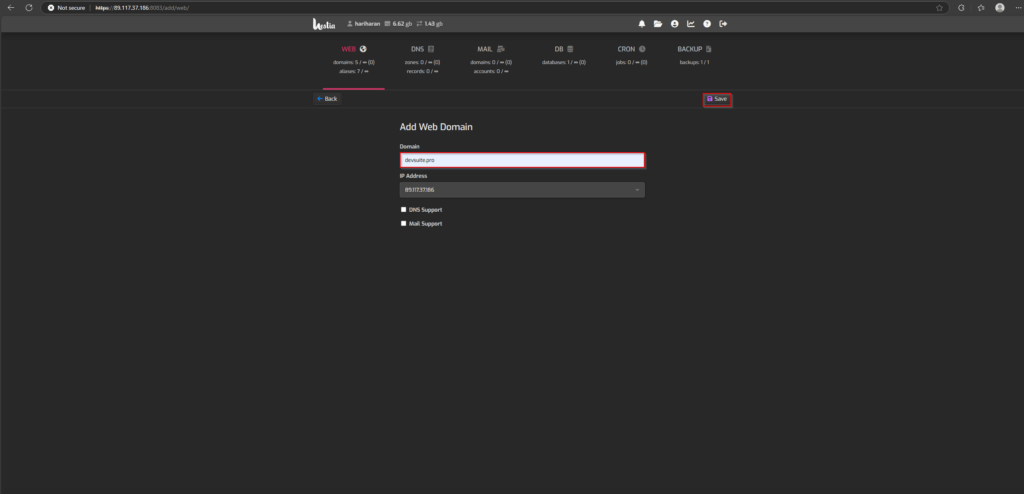
Step 3: Enter the domain and IP address, then press the “Save” button.
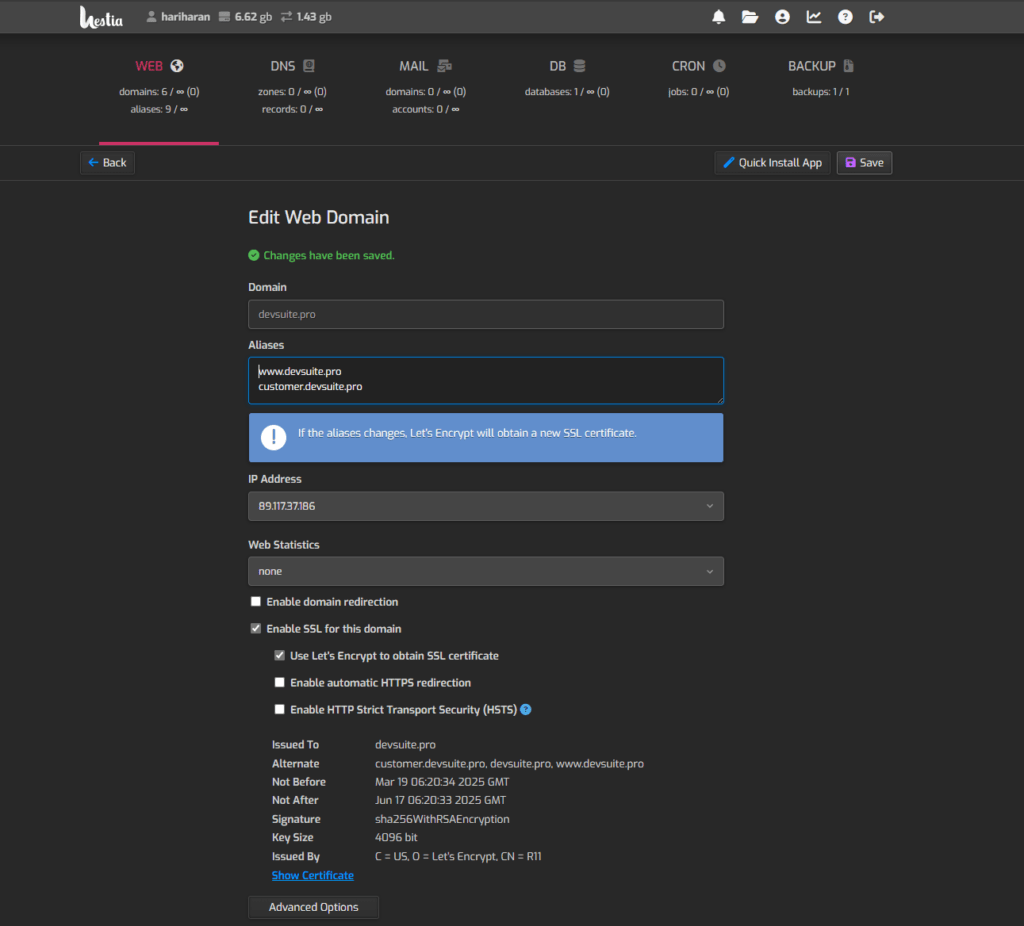
Step 4: After Adding the domain, click the edit button.

Step 5: Fill in the necessary details, enable SSL, and save your changes.
NOTE: Make sure that the subdomain for aliases is mapped in DNS A record.
WARNING: SSL will only be added if the subdomain is properly mapped.
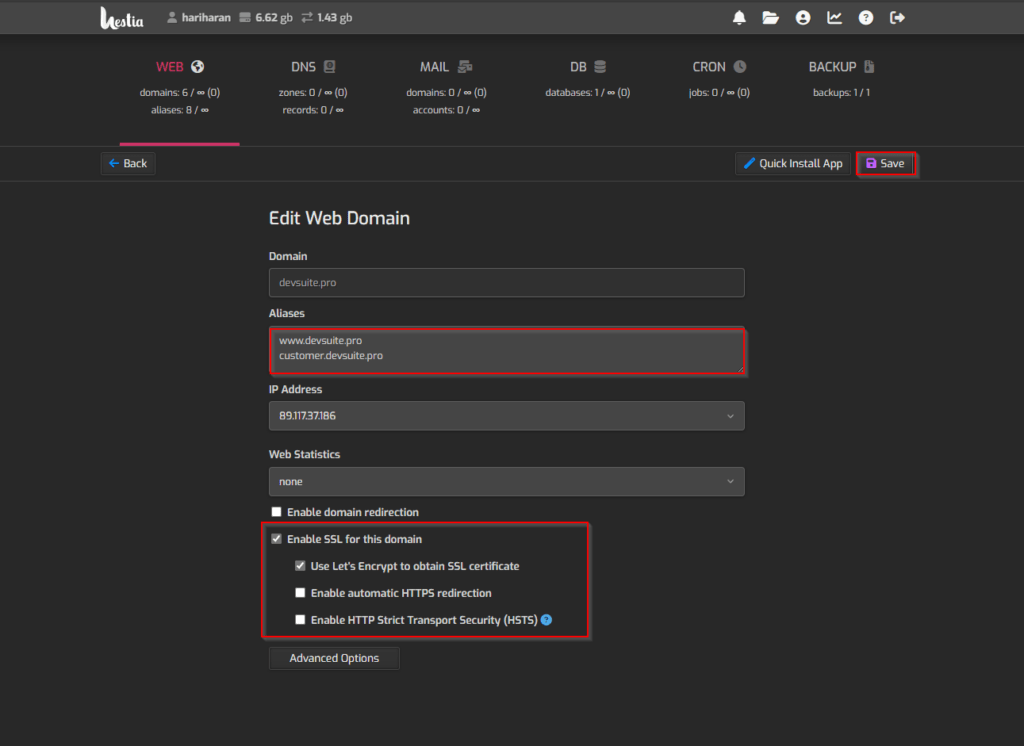
Step 6: The domain’s SSL is now enabled.
File Uploading #
Step 1: Extract the downloaded zip file.

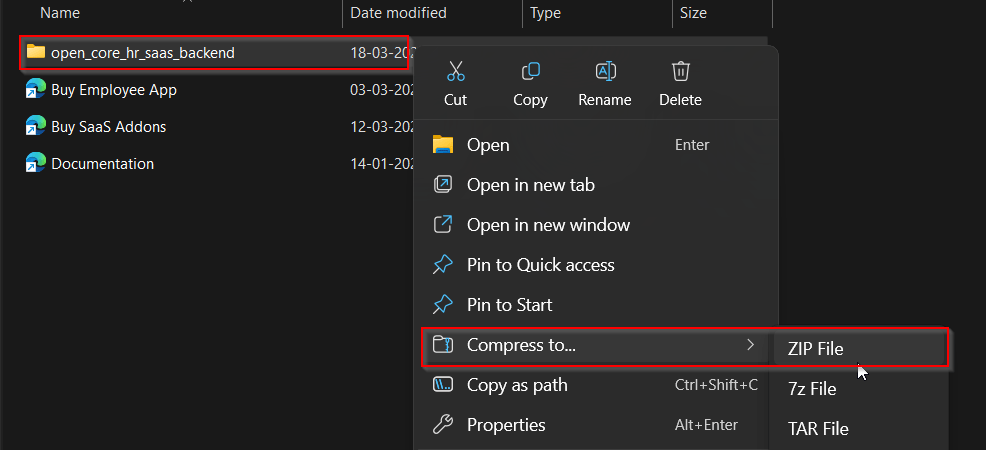
Step 2: Open the extracted folder and zip the main file open_core_hr_saas_backend .
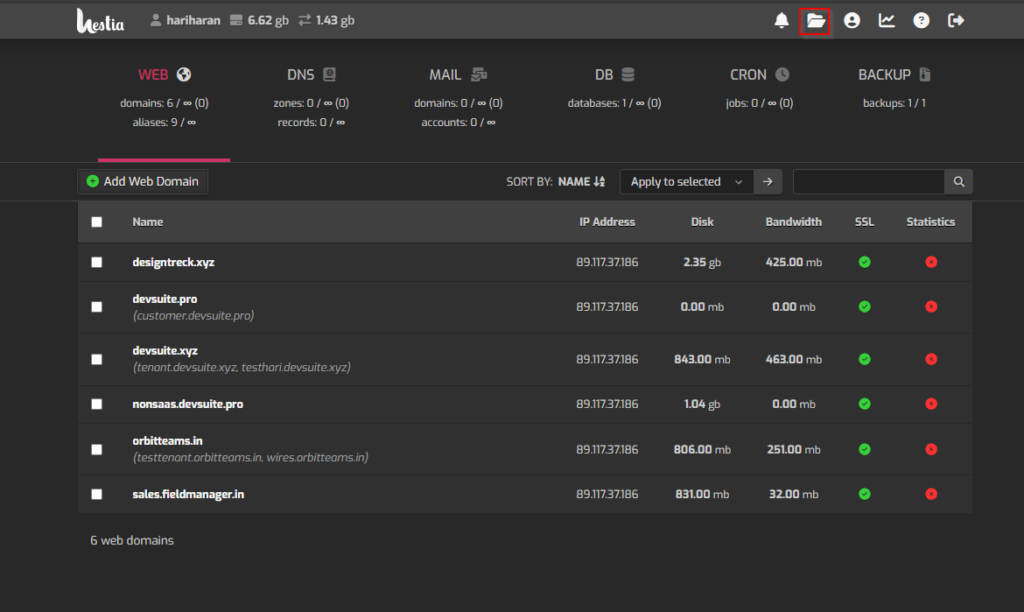
Step 3: Now, navigate to the web page/ home screen and click the File Manager.
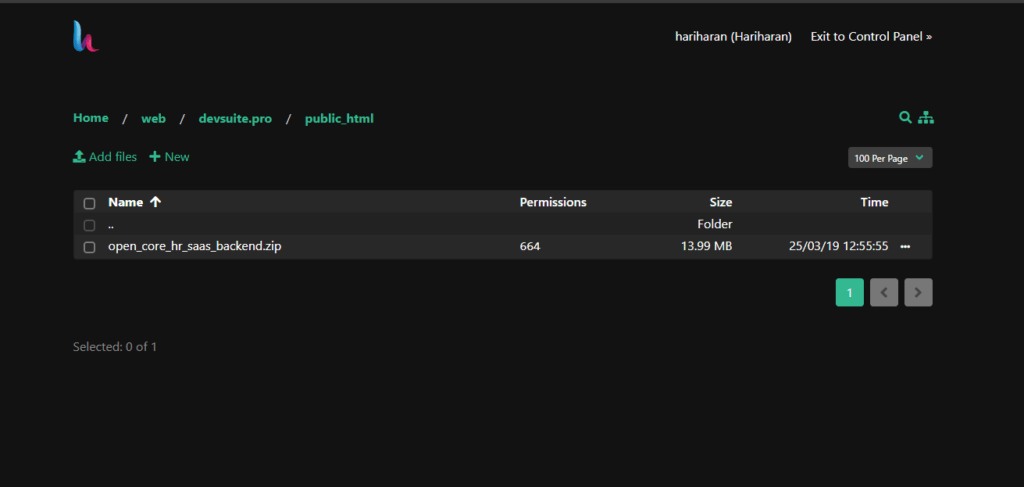
Step 4: Upload the zipped open_core_hr_saas_backend folder to the file manager and extract them.
.env setup #
Step 1: Enter the following command.
cp .env.example .envNOTE: This will make a copy of .env.example file and create the .env file

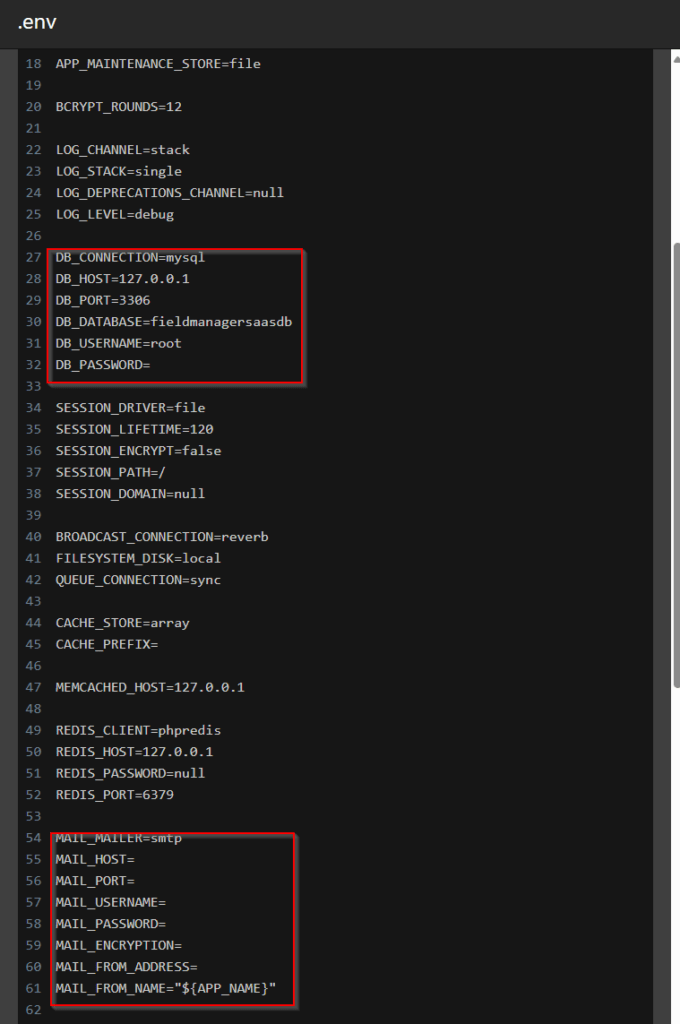
Step 2: Fill in the Database details and mail details accordingly.
IMPORTANT NOTE: Create a new db user with root access.
Domain Setup #
Step 1: Scroll down in the .env file and enter your domain name.

Step 2: Set the central domain in config->tenancy.php

Install Dependencies #
Step 1: To install Composer, open the terminal and run the following command
composer install
Set files permission

sudo chmod -R 775 public

sudo chmod -R 777 storage

sudo chmod -R 777 modules_statuses.json

sudo chmod -R 777 Modules
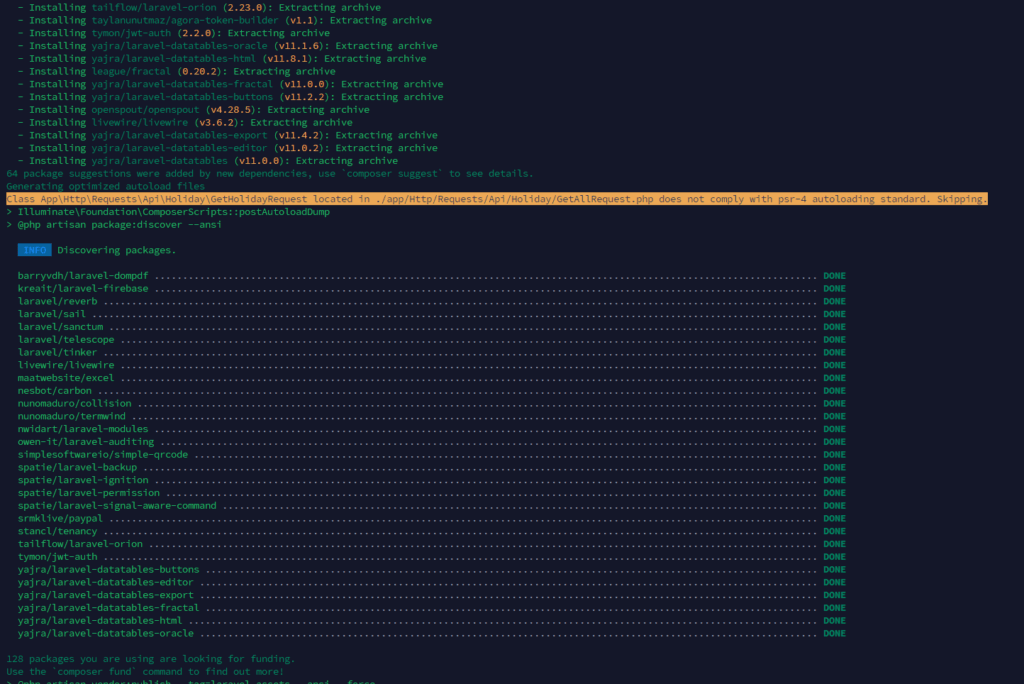
NOTE: If you face any issues while running the above command run this composer install --ignore-platform-reqs
Step 2: Generate jwt secret key.
php artisan jwt:secret

Step 3: Generate Application Key by entering the following command in the terminal.
php artisan key:generate

Step 4: Now enter the following command in the terminal to link storage.
php artisan storage:link

Step 5: Enter the following command to install yarn.
NOTE: Install Node.js version 22 before installing yarn.

yarn install

Step 6: Enter the following command to build yarn.
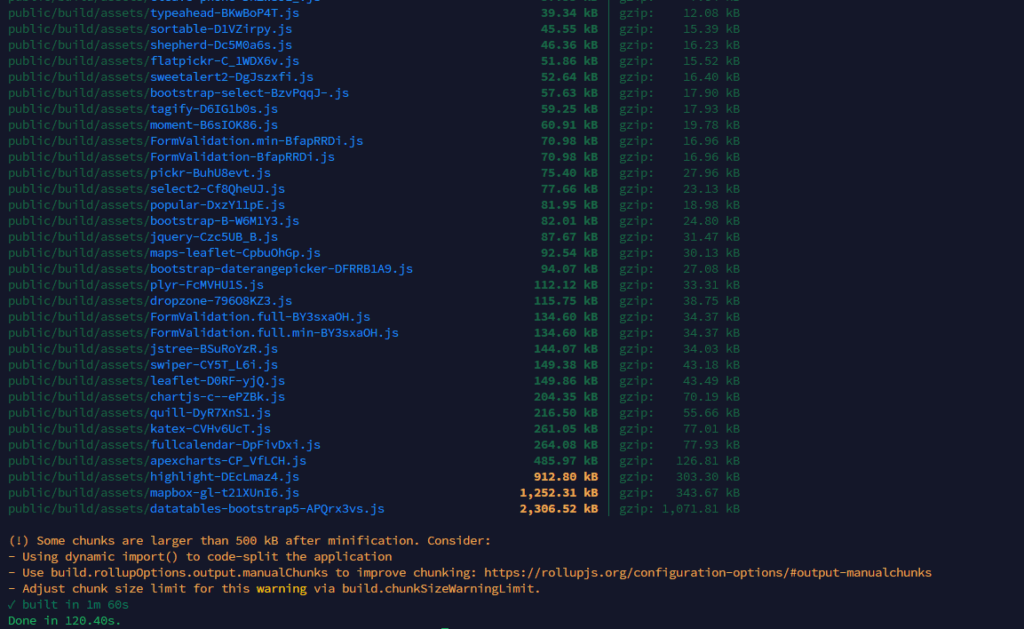
yarn build
Migration #
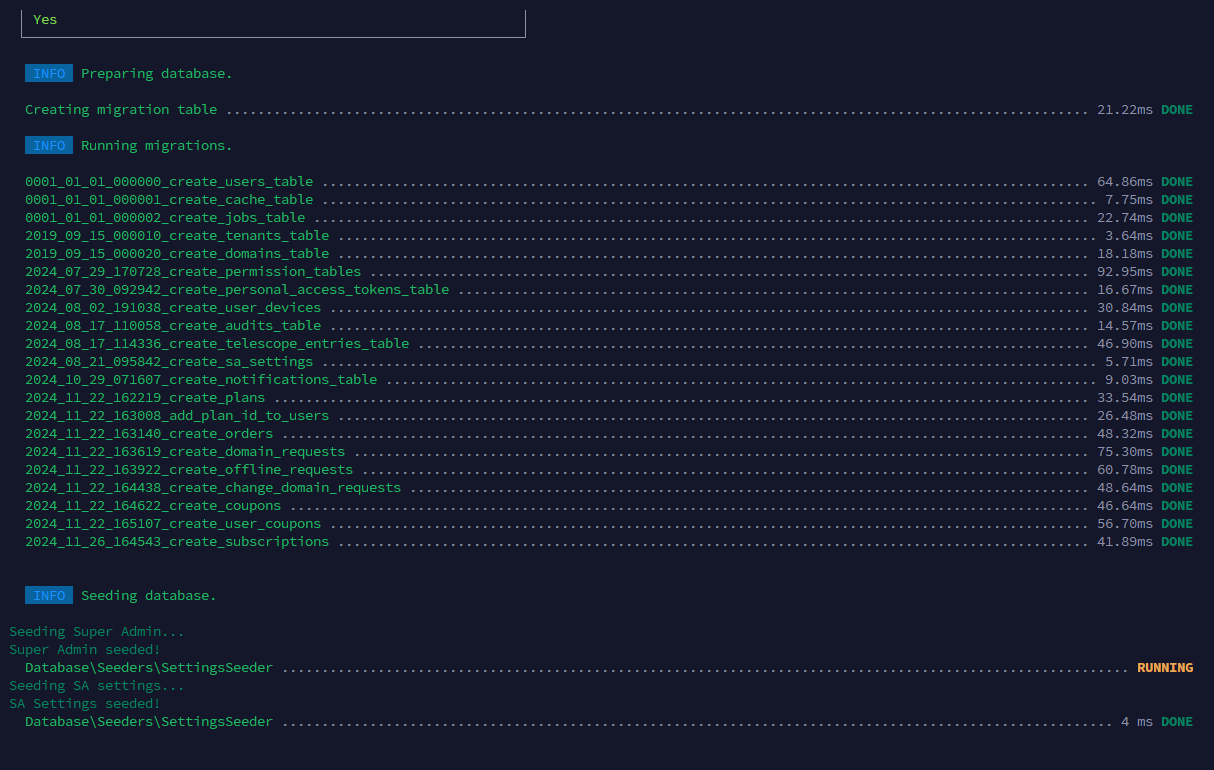
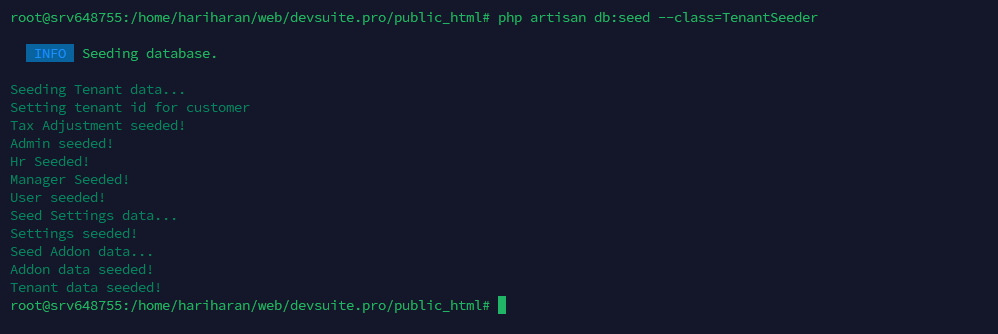
Step 1: Open the terminal and enter the following commands to migrate and seed the demo data.
php artisan migrate --seed
php artisan db:seed --class=TenantSeeder
Step 2: The application is now live
Superadmin Login Credential
Username: [email protected]
Password: 123456

Customer Login Credential
Username: [email protected]
Password: 123456
