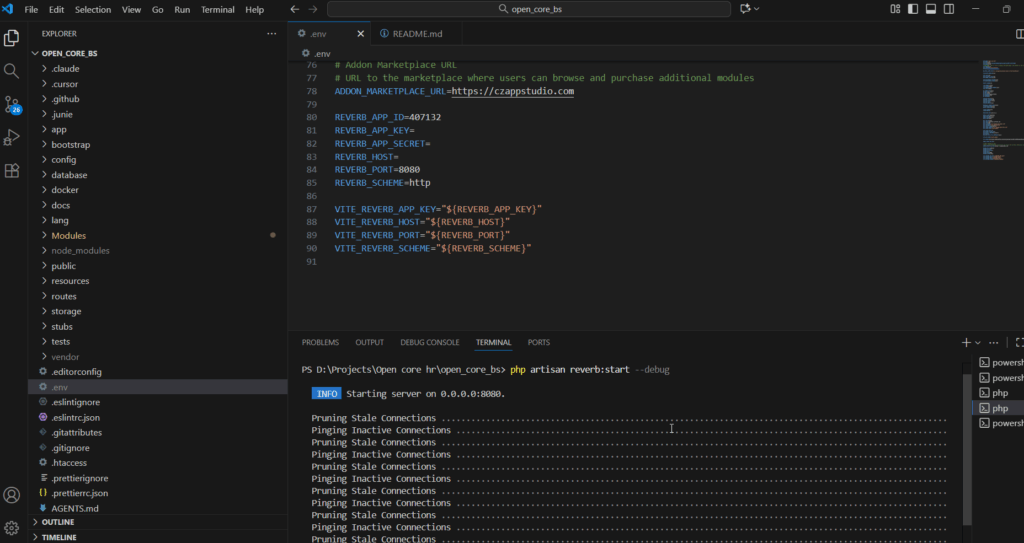
Backend Setup
Folder extraction #
Step 1: Extract the downloaded zip file.

Step 2: Open the OPEN_CORE_BS server root folder in Visual Studio code.

.env Setup #
Step 1: In Visual Studio Code, open the OPEN_CORE_BS server root folder.
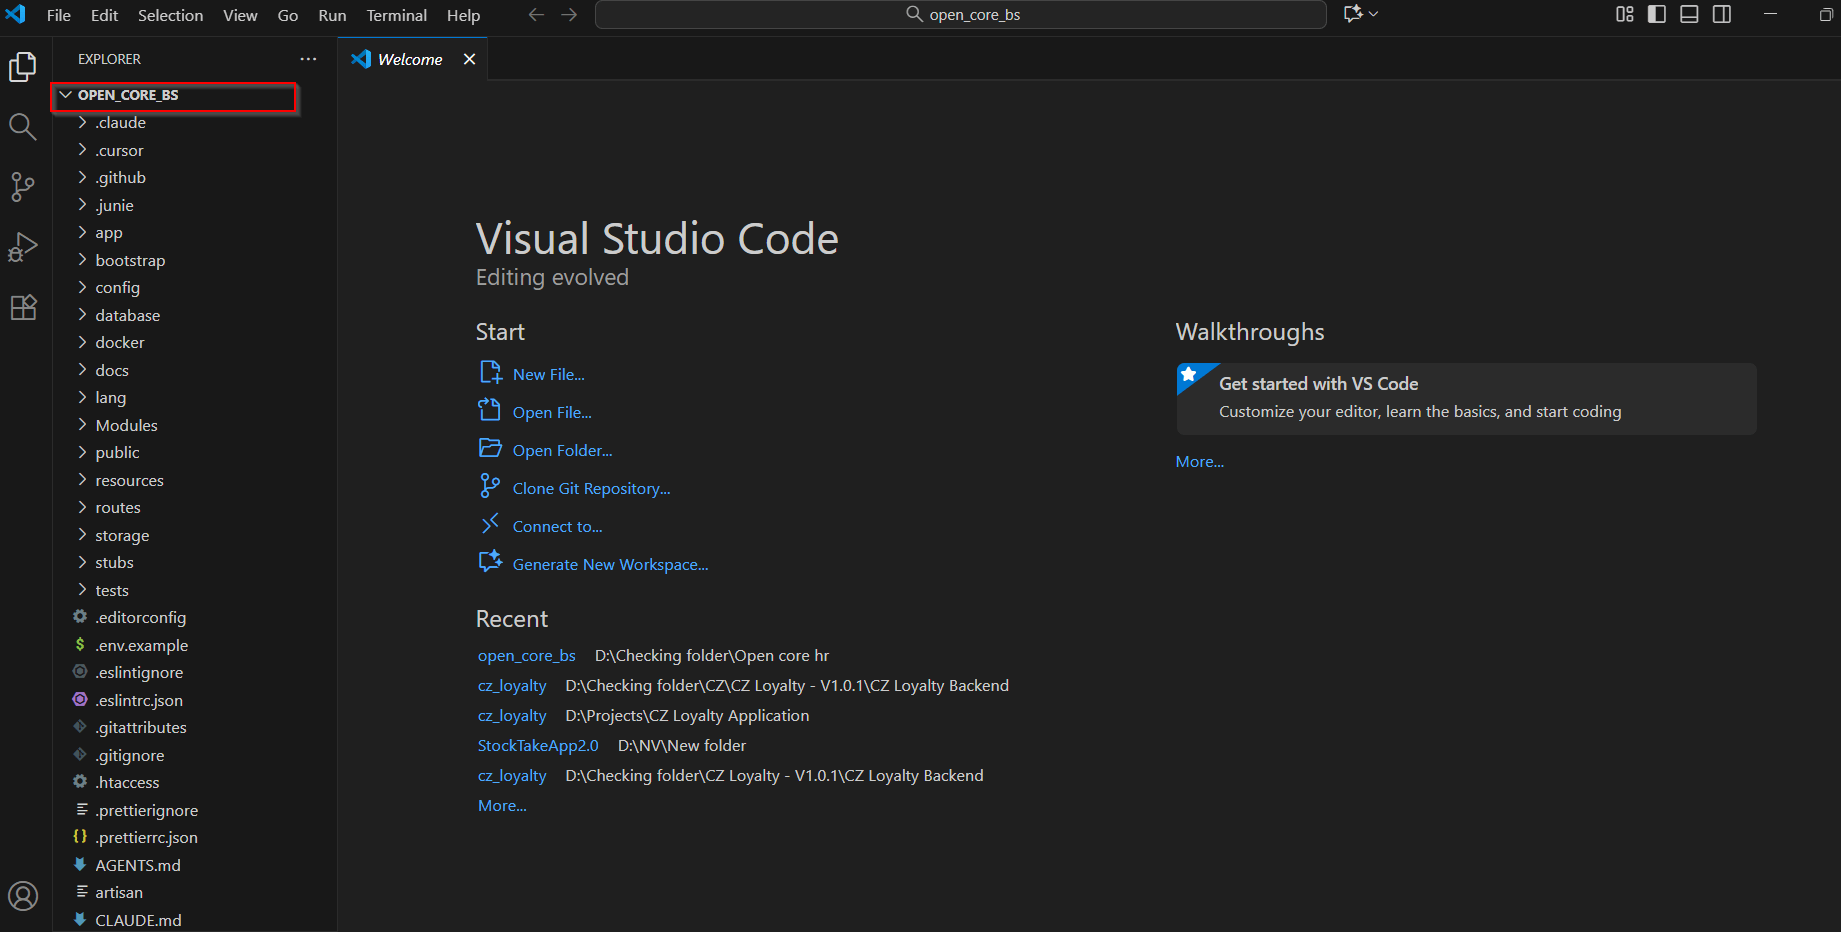
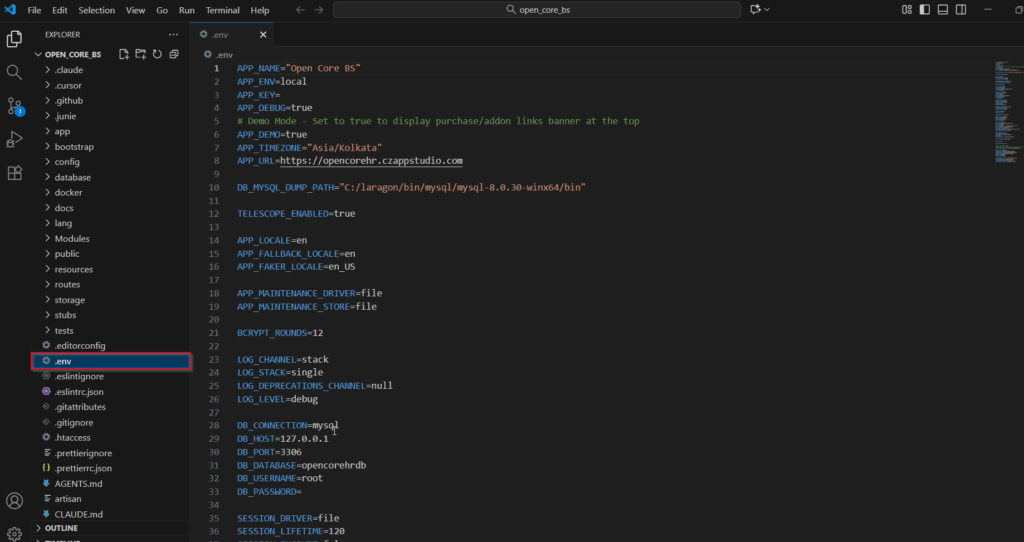
Step 2: Locate the .env.example file and rename into .env .
NOTE: Make a copy of .env.example file for future reference.
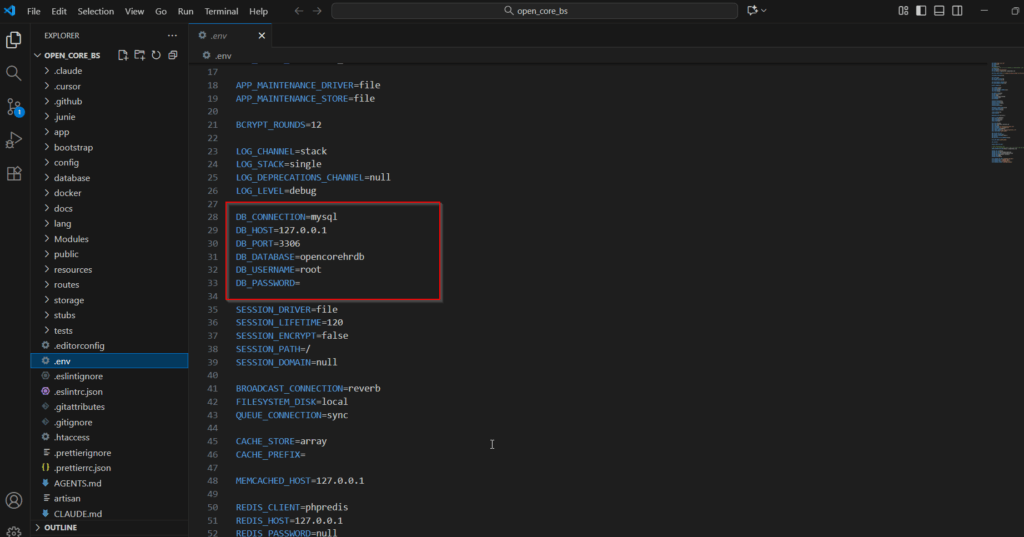
Step 3: Fill the Database details Accordingly.
IMPORTANT NOTE: Create a new db user.
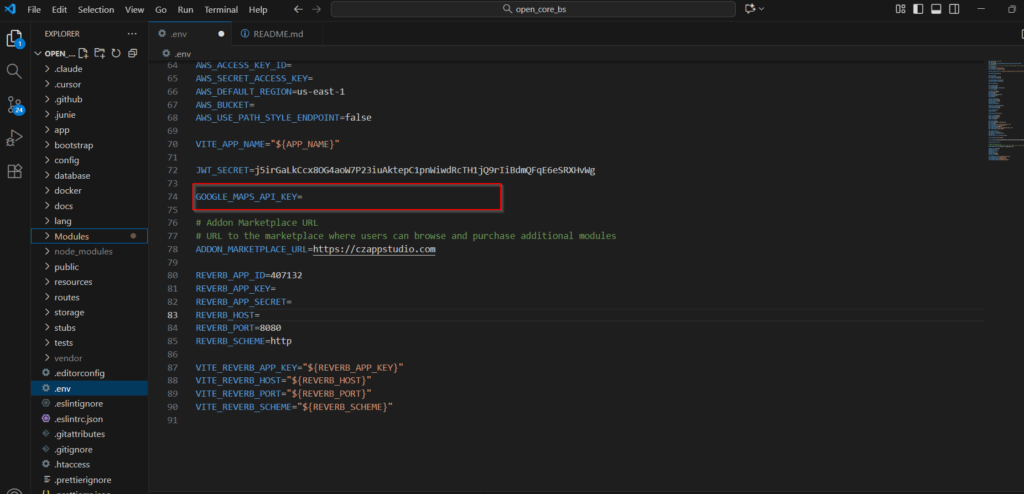
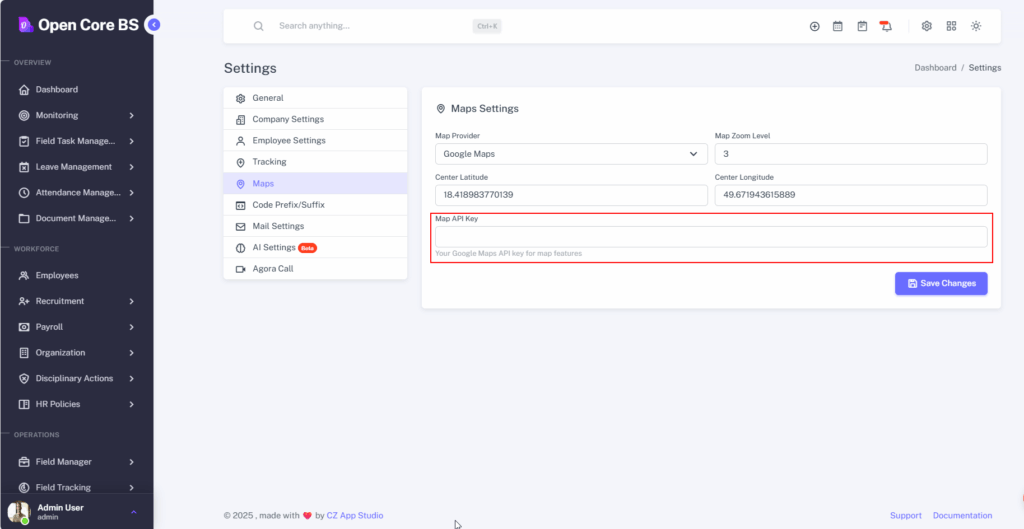
Step 4: Add the Google Maps API key.
Install Dependencies #
Step 1: To install Composer, open the terminal and run the following command.
composer install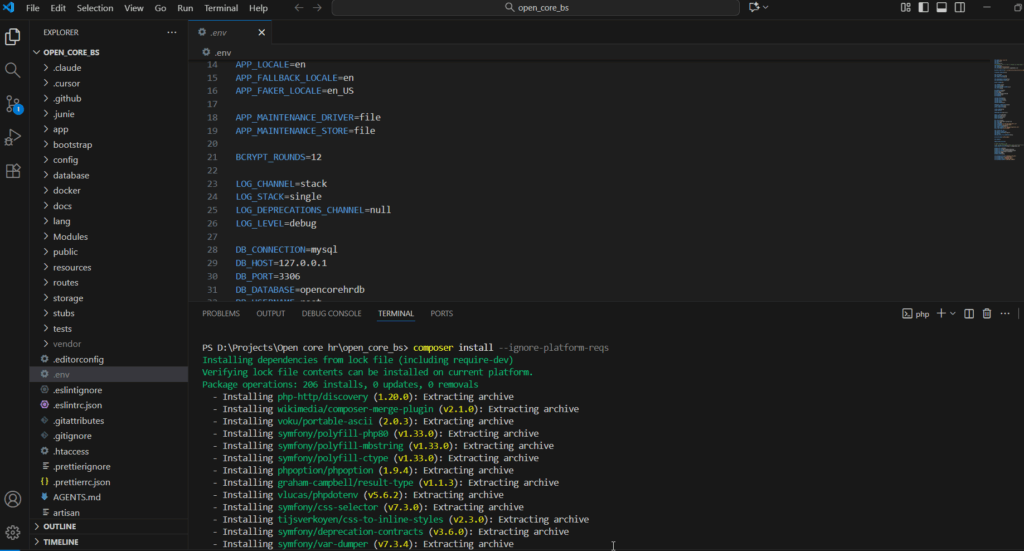
Set files permission

sudo chmod -R 775 public

sudo chmod -R 777 storage

sudo chmod -R 777 modules_statuses.json

sudo chmod -R 777 Modules
Step 2: Then, enter the following command in the terminal.
php artisan jwt:secret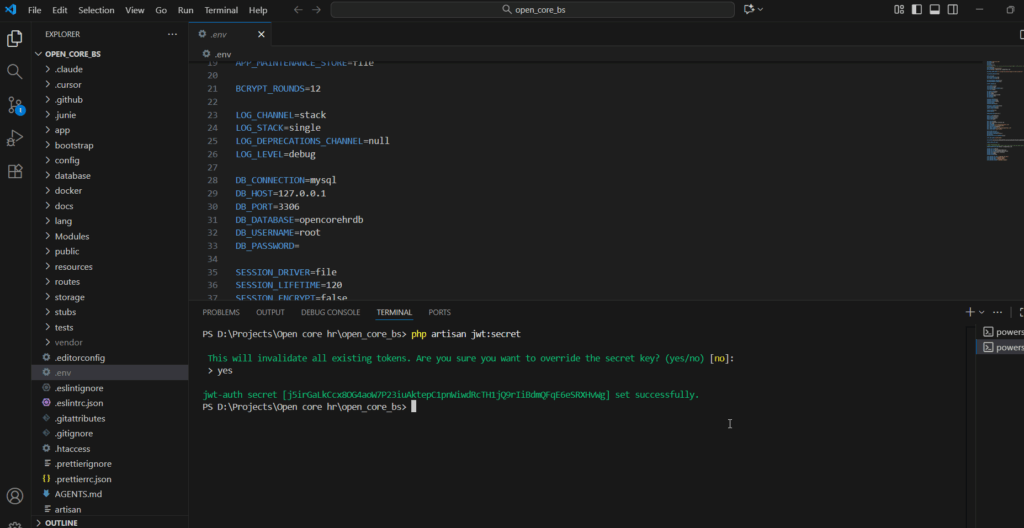
Step 3: Generate Application Key by entering the following command in the terminal.
php artisan key:generate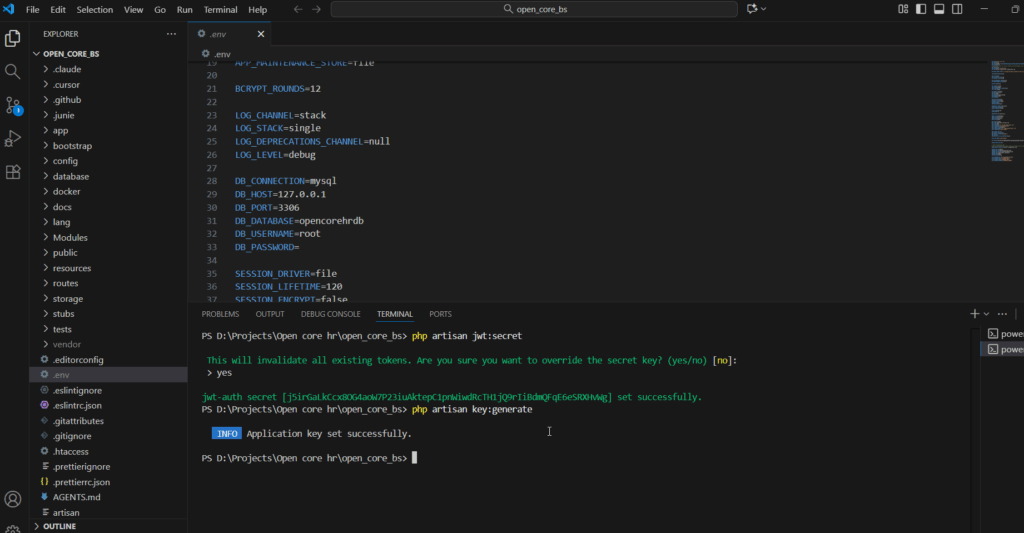
Step 4: Enter the following command to migrate.
php artisan opencorebs:live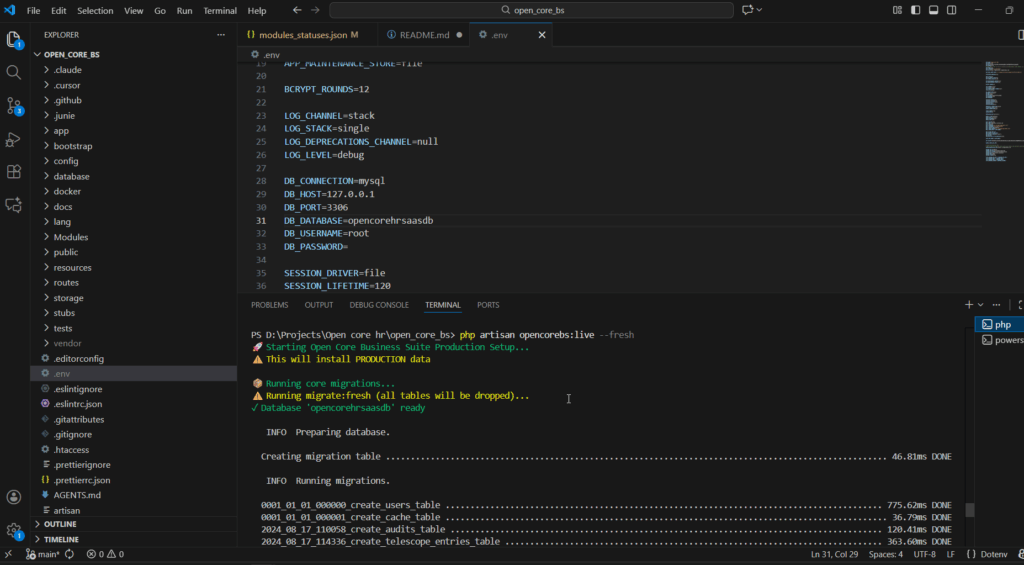
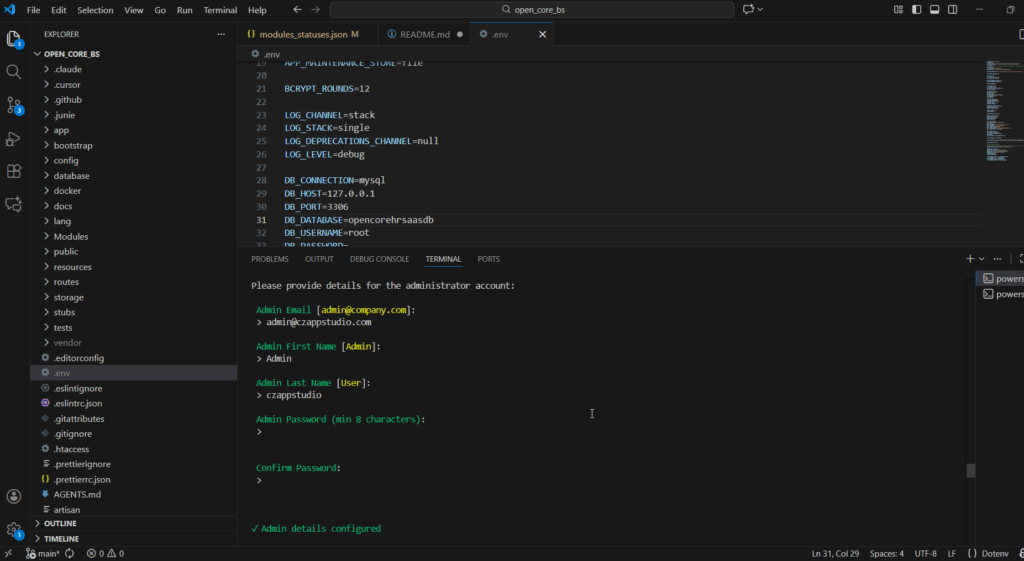
Step 5: To access the Admin Panel, you must enter the Admin panel username, first name, last name, and password accordingly.
Step 6: Open new terminal and run the following command
yarn install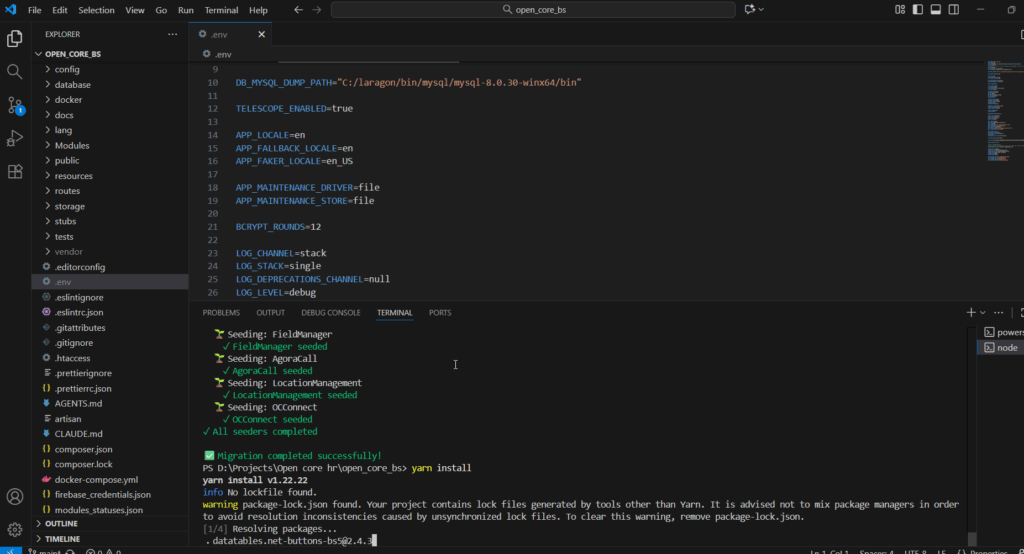
yarn build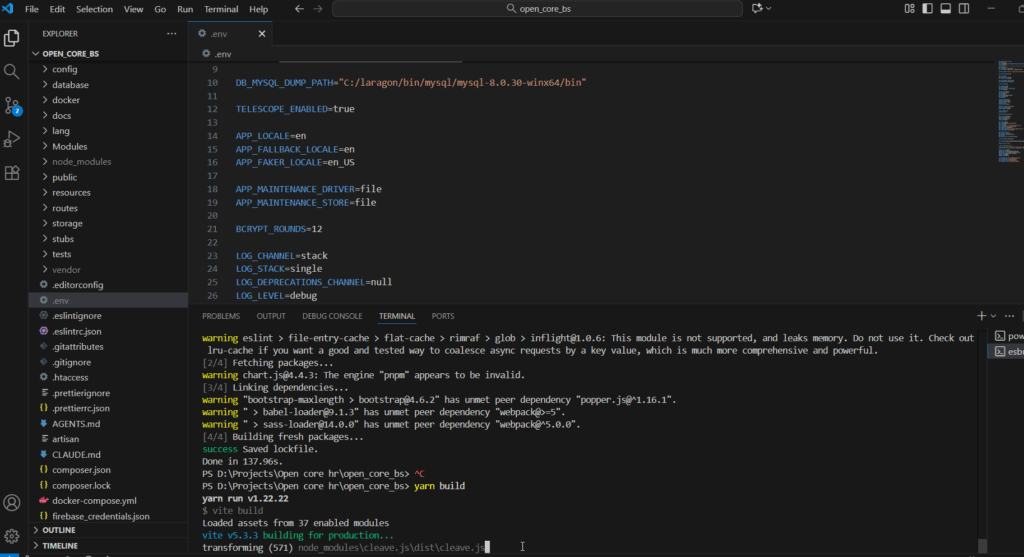
Step 7: Now enter the following command in the terminal to link storage.
php artisan storage:link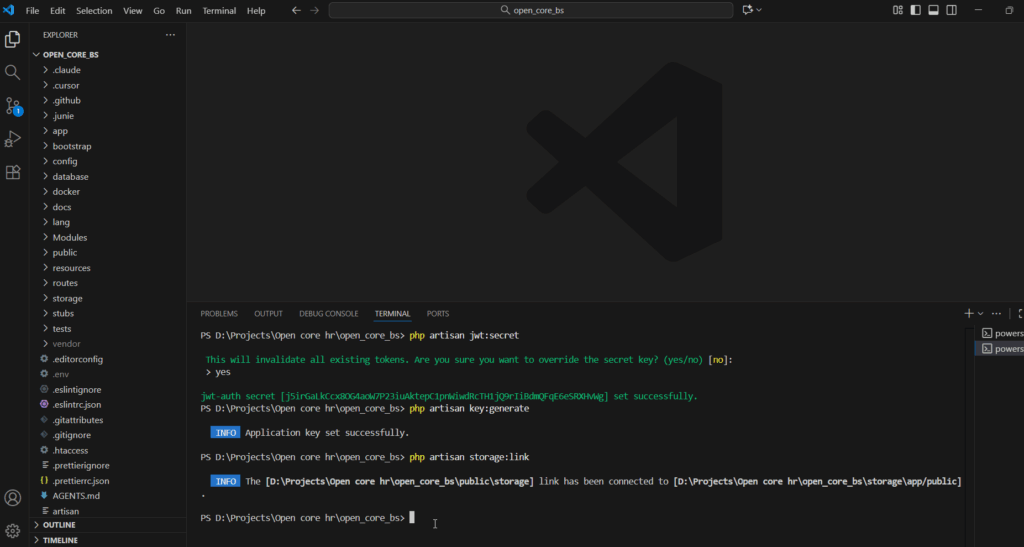
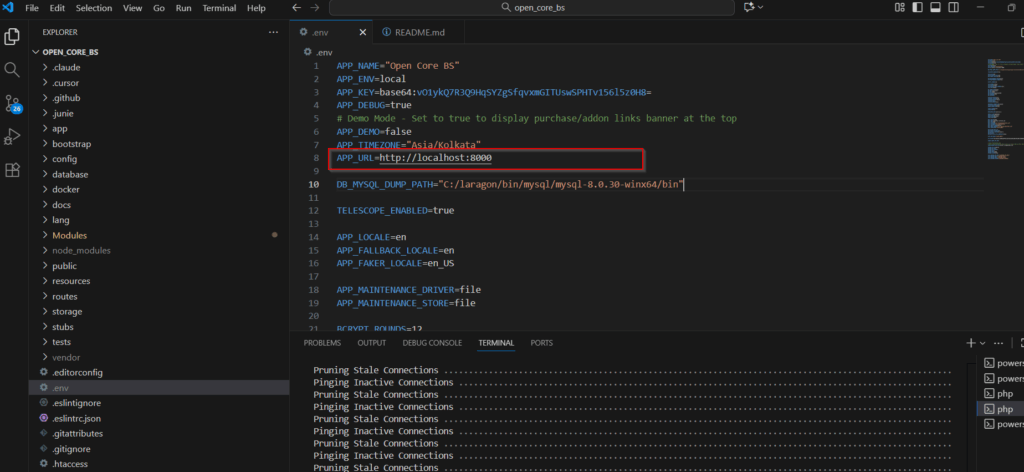
Step 8: Update the App URL variable located in .env root server
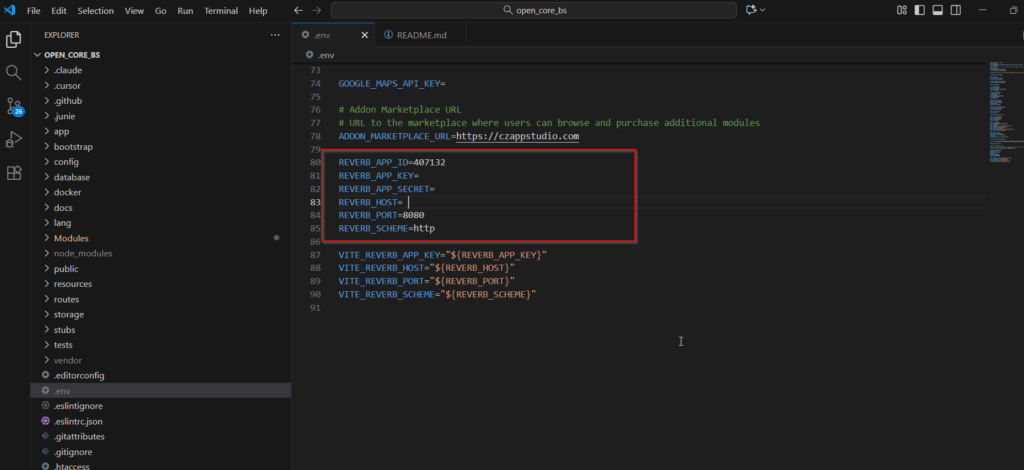
Step 9: Update the HOST variables within the .env root server.
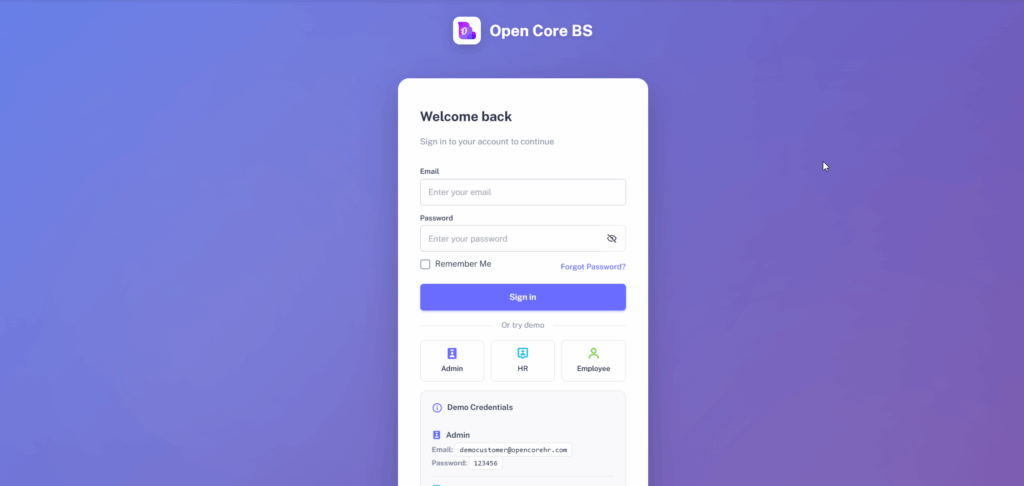
Step 10: The application is now live. Please proceed to the login page and access the system using your provided credentials.
Step 11: Once the application is live, navigate to the Settings and enter the Google Maps API Key & Mail Configuration accordingly.
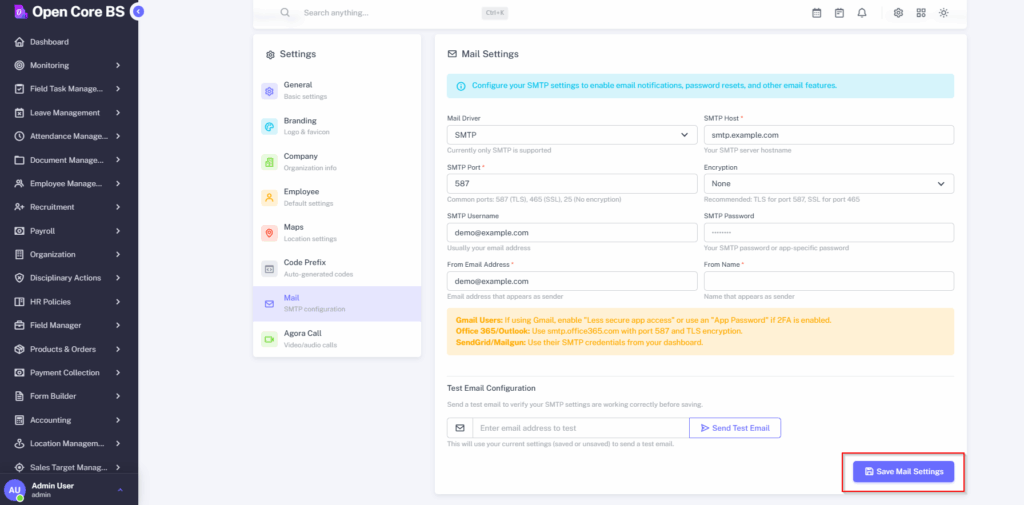
Step 12: Execute the following command in the terminal.
php artisan schedule:list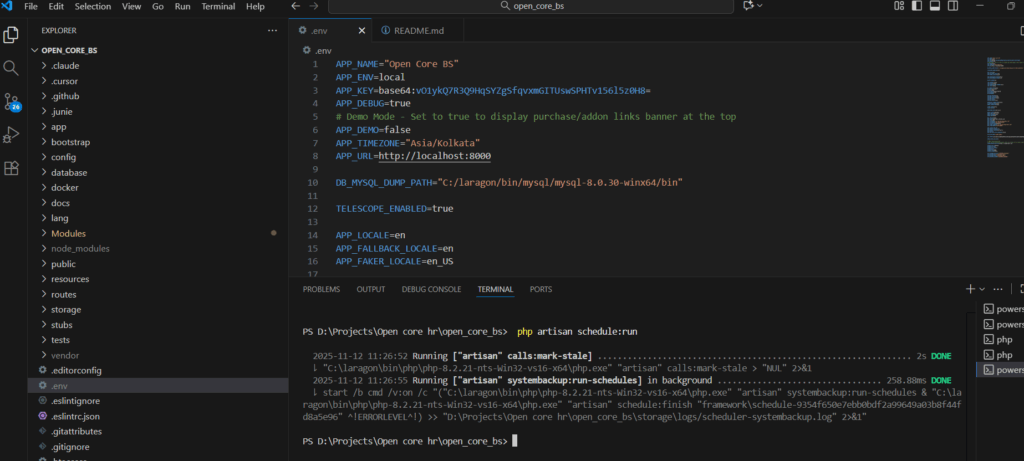
NOTE: To enable scheduled tasks (like background processing or reminders), you must add the cron entry to your server's configuration.
Step 13: Enter the following command in terminal.
php artisan reverb:start --debug