Field Manager App Setup
Field Manager Module Setup #
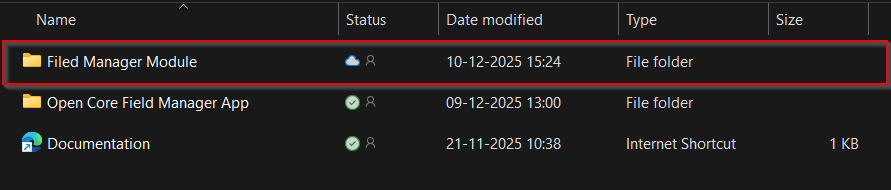
Step 1: Extract the downloaded ZIP file to your local application directory.

Step 2: Inside, you will find the Field Manager zip folder ready for upload according to the following steps.
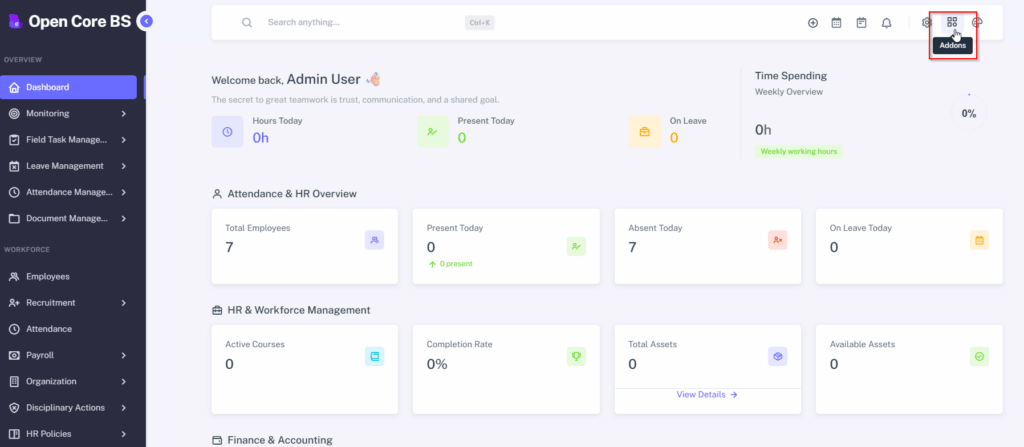
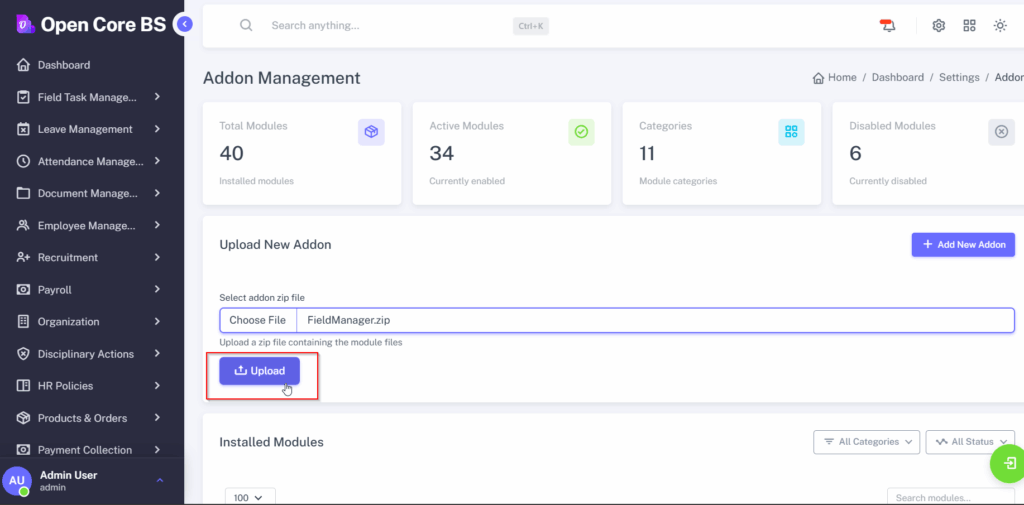
Step 4: Go to your admin / superadmin dashboard and click on the addons section located at the top right navigation bar.
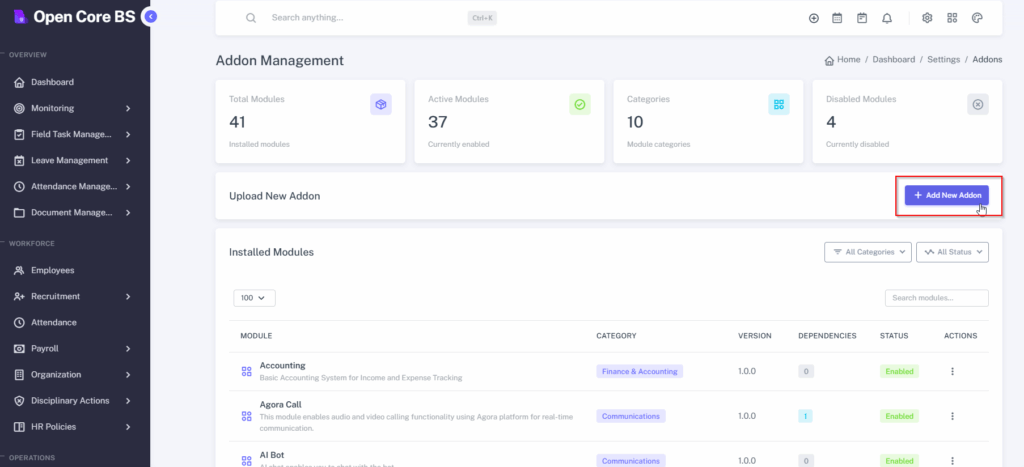
Step 5: Now, click on the ‘Add New Addon’ button.
Step 6: Select the addon zip file from the extracted purchased folder and click ‘Upload’.
WARNING: You should upload the addon zip file, not the purchased zip file.
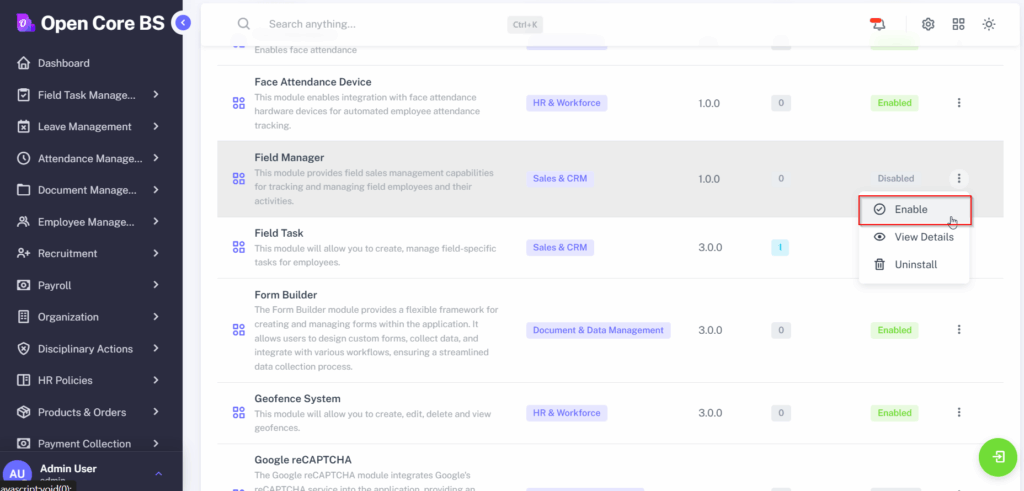
Step 7: Locate the uploaded file and click the three dots under the Actions column. Select the “Enable” button.
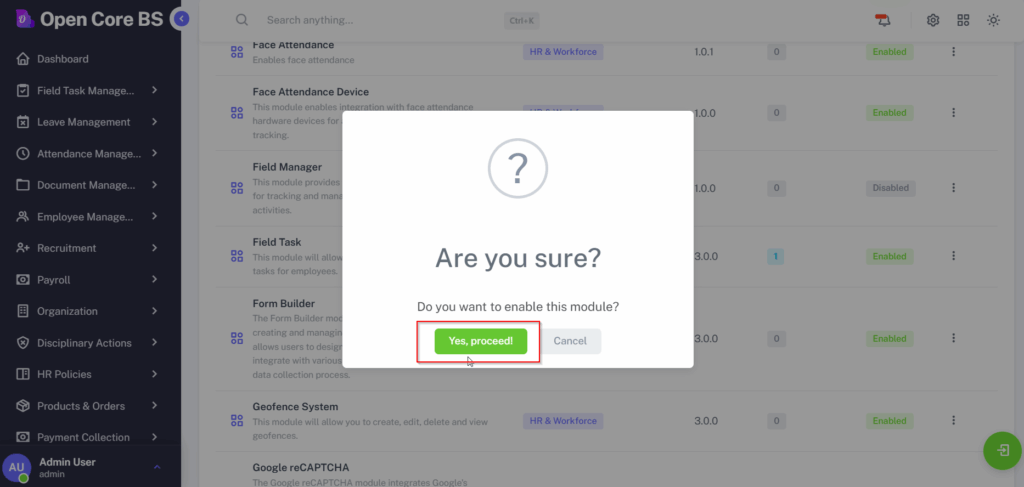
Step 8: In the confirmation pop-up message, click “Yes proceed”.
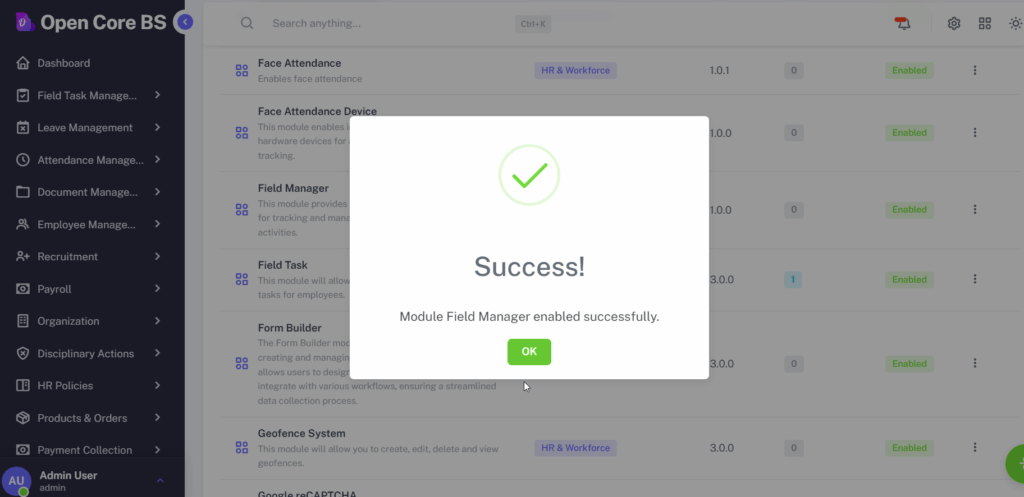
Step 9: The addon has been set successfully.
Field Manager App Setup #
Step 1: Once the module setup is successfully completed, navigate to and open the Open Core Field Manager App folder to continue the configuration process.

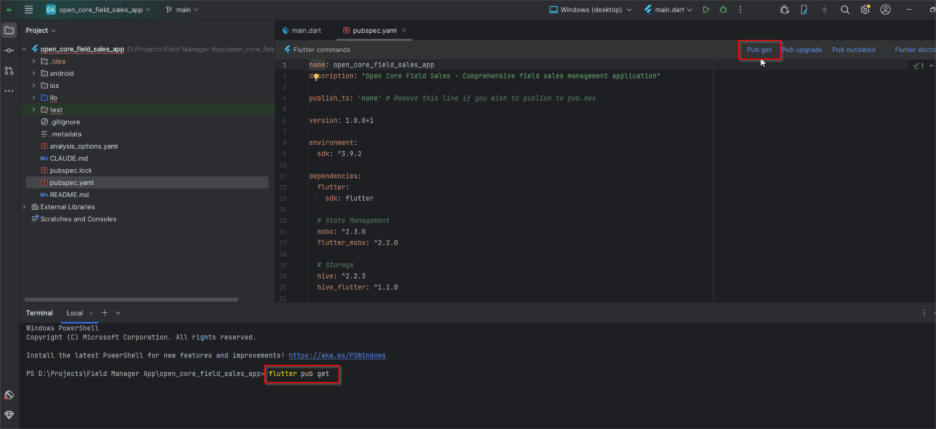
Step 2: Open the open_core_field_sales_app folder inside Android Studio.

Step 3: Install Dependencies: Once the project loads, go to the terminal and cd into the project folder, then run the following command.
flutter pub get
NOTE: Ensure you are using the Flutter SDK Version-3.27.4. This will install all the dependencies
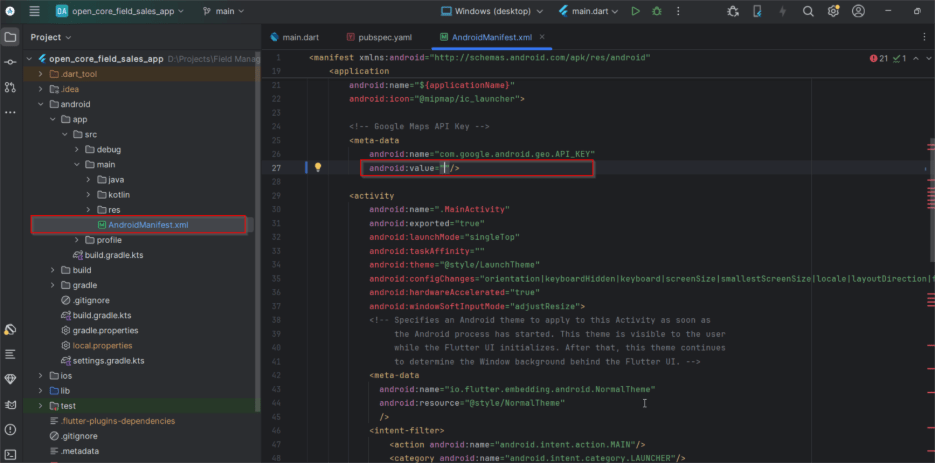
Setting Maps API Key #
Step 1: In your project root, navigate to android->app->src->main-> AndroidManifest.xml file. Scroll down and paste your Google Maps API key here.
Setting App Mode (SaaS & Non-SaaS) #
Step 1: Go to lib->utils->app_constants.dart. Locate the SaaSMode and then type true if it is SaaS environment or false if it is non-SaaS environment.
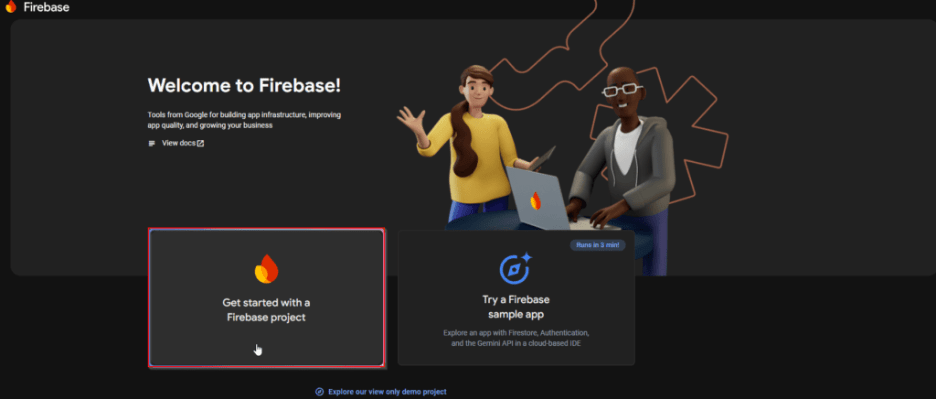
Firebase setup #
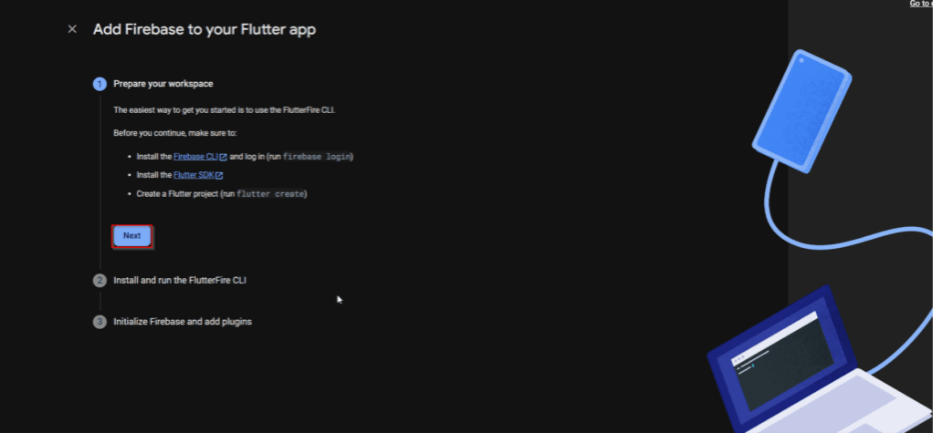
Step 1: Log into the firebase console and click on create a project.
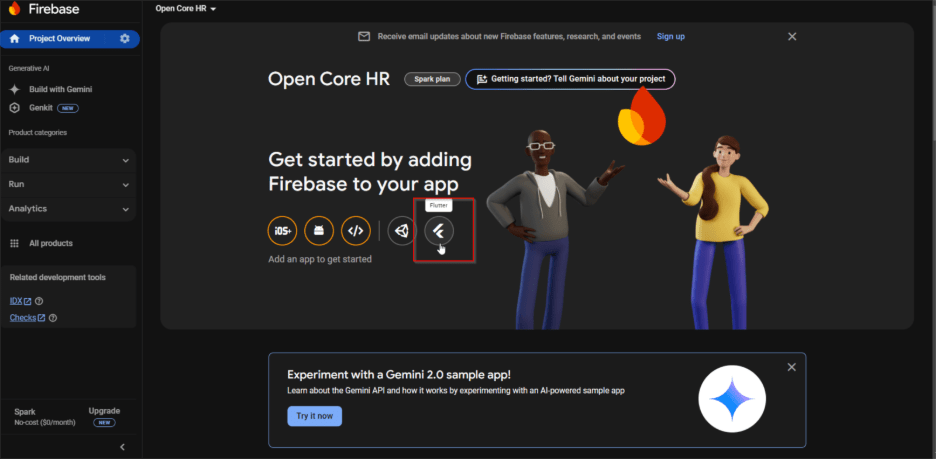
Step 2: Once you reach the project dashboard, click on the Flutter icon to start the setup process.
Step 3: In this step, just install the Firebase CLI and login to the CLI with your account and click next.
NOTE: Ensure your Firebase CLI is working well and added to the system environment variable by opening in command prompt and firebase –version.
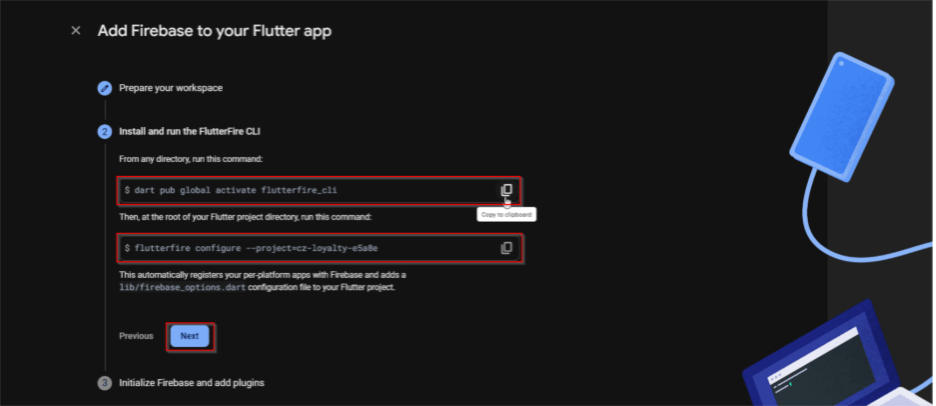
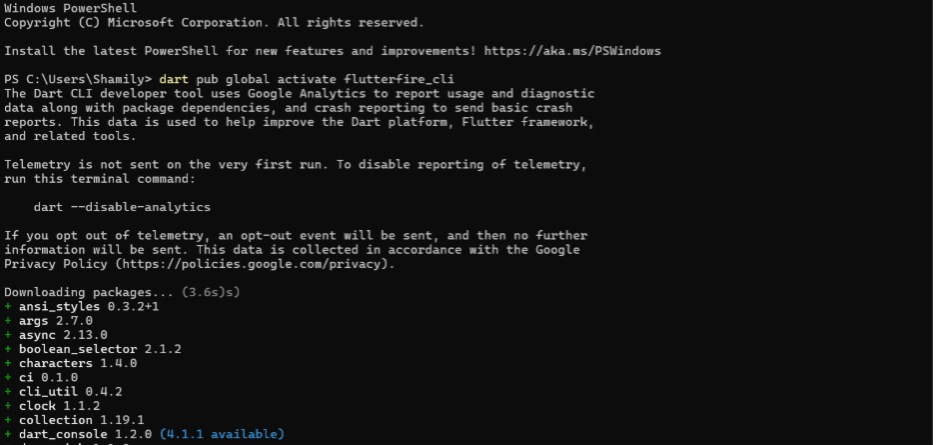
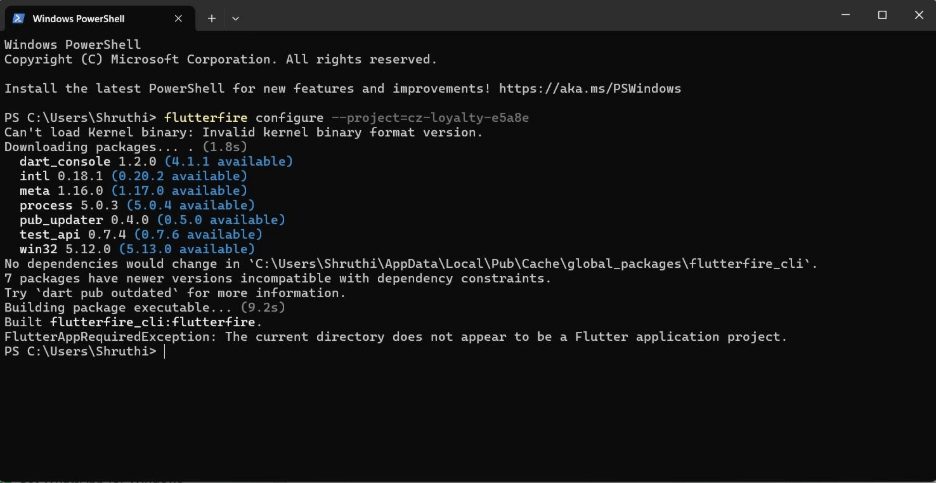
Step 4: Open your terminal and execute the following two commands to install and run the FlutterFire CLI.
Step 5: Initialize the firebase and click on the Continue to Console button.

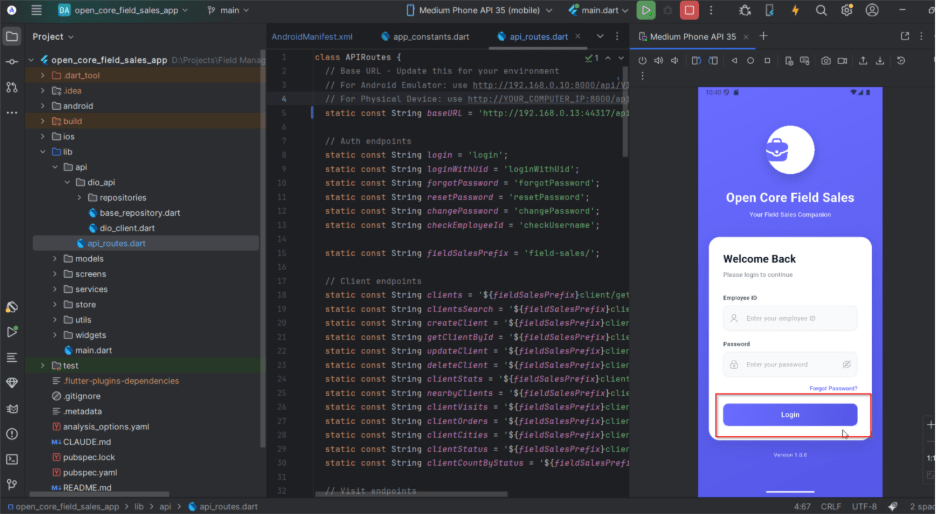
Changing Base URL #
(This Step will connect the mobile app to the Backend)
Step 1: Open lib->api->api_routes.dart file. Then replace the BaseURL value with your server IP (where your backend API project is running)
NOTE: Do not change the port number—only update the IP address.
Example: https://Paste the BaseURL /api/V1/

Step 2: Connect your Android device or open an emulator and run the project. That’s it! You’re ready to go.