
Backend Setup
Getting Started #
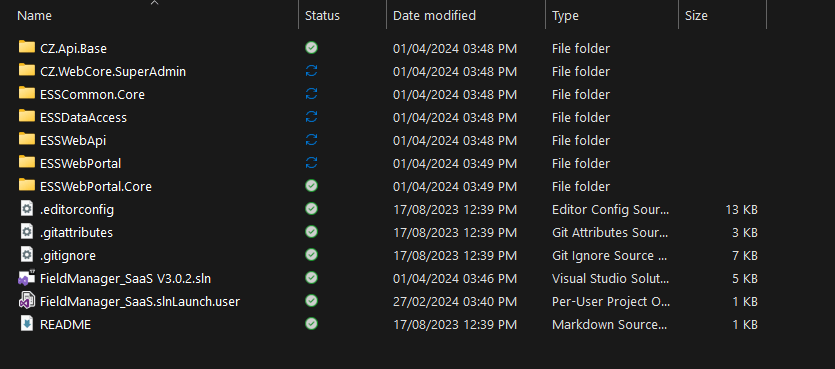
Step 1: Extract the downloaded zip Folder.

Step 2: Open the Field Manager SaaS V X.X.X Server folder.

Step 3: Select the Field Manager SaaS V X.X.X .sln file in Visual Studio 2022.
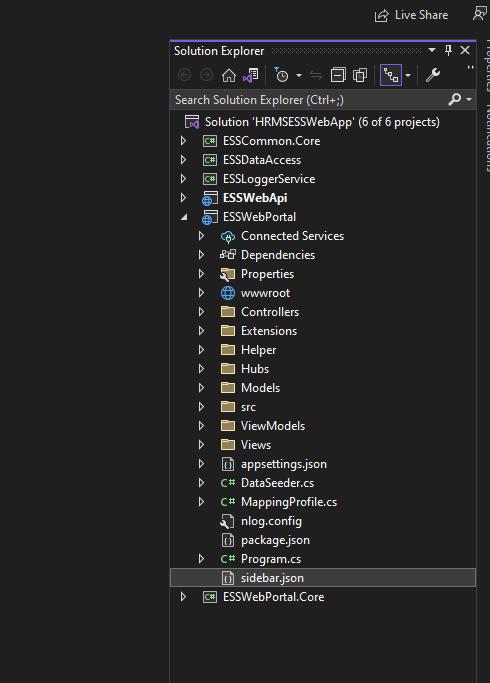
Step 4: Once it opened you can see the projects in the Solution Explorer.
To understand the project structure, click here
Adding connection string and keys #
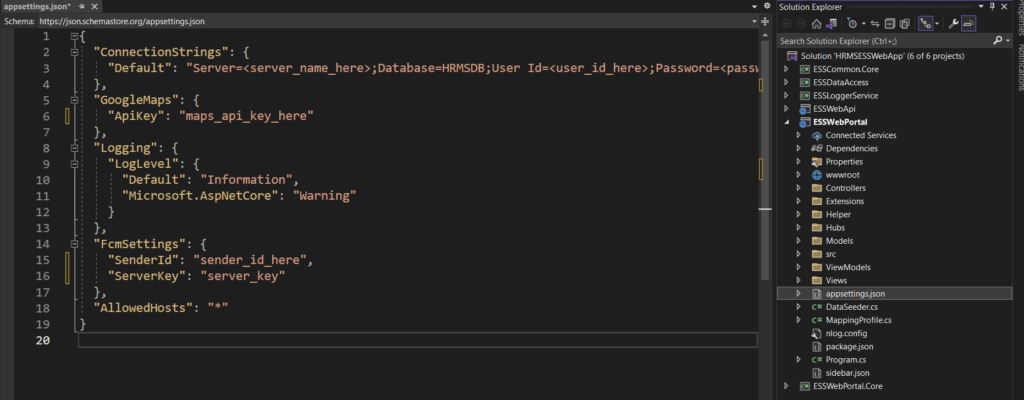
Step 1: Click and expand ESSWebPortal and expand the appsettings.json file. You can see a file named appsettings.Development.json. There change the DB connection string and keys.
NOTE:
 appsettings.Development.json is for local testing (debug build)

 appsettings.json is for production build (release build)

 for local testing change the appsettings.Development.json file values
 NOTE:
 1. Add DB connection string in the ConnectionString->Default property

 2. Add Google Maps API Key in the GoogleMaps->ApiKey property

 3. Add Firebase Sender Id & Server Key in the FcmSettings property
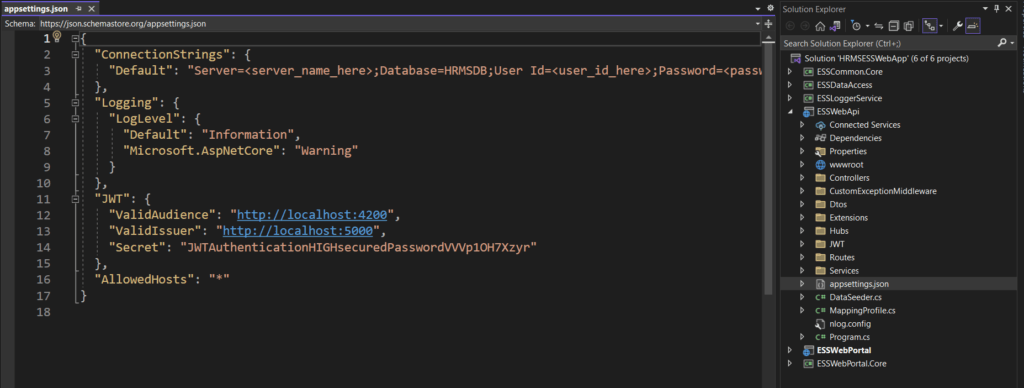
Step 2: Change the DB ‘ConnectionStrings’ in the ESSWebApi Project.
Change the JWT settings data
Running migration #
NOTE:
To create a migration file by using Package Manager Console and apply it to the database follow these steps
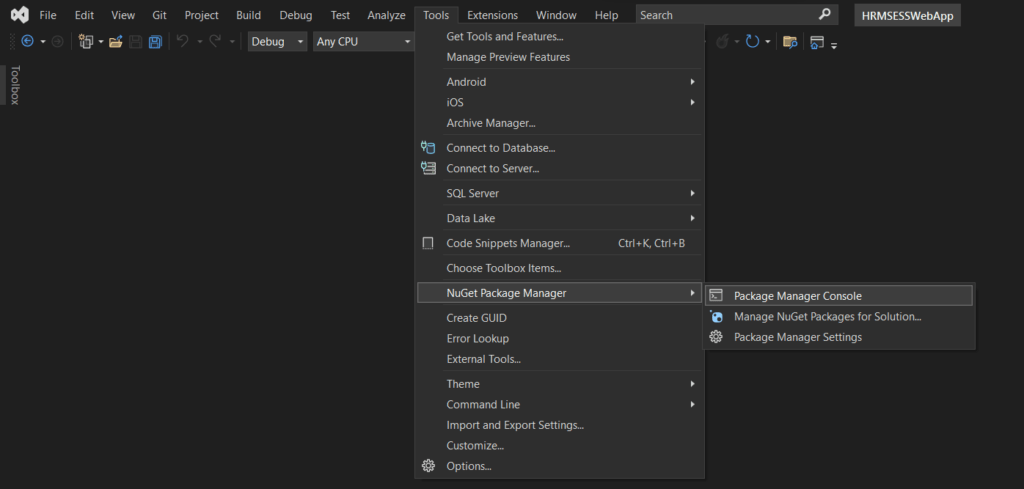
Step 1: Select Tools -> Nuget Package manager -> Package Manager Console this will open the Package Manager console.
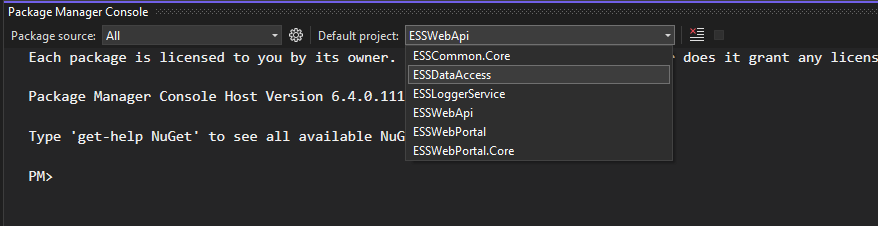
Step 2: Click on the default project dropdown and choose ESSDataAccess for running the migration command.
(In the ESSDataAccess project delete the Migration folder if it exists.)
Step 3: Type the command to generate the migration script
add-migration "initial"
Step 4: Once it successfully generates the migration fine you can see this output and a folder in the ESSDataAccess project

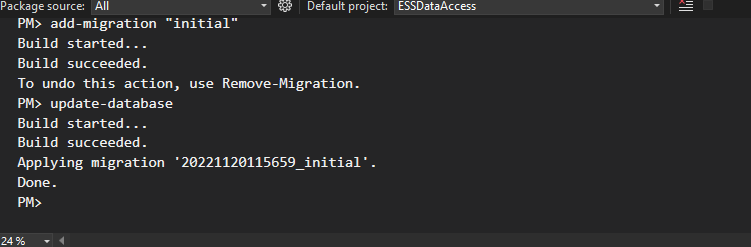
Step 5: Then run the command to run the migration script to create the database and its table
update-database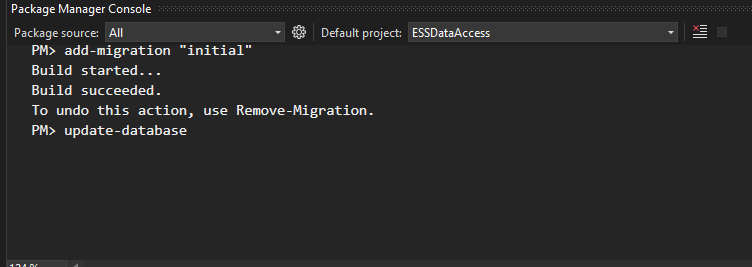
Step 6: Once it successfully updates you can see this output and also the database will be created in MSSql Server.
You can use SQL Management Studio to make sure that the database is created
Running the Admin Panel #
Step 1: To run the project for the first time, select the ESSWebPortal option.

Step 2: Once the project starts You can see this login Screen use these demo accounts to login
Note:
All the initial demo data will be auto seeded on the project's first launch if you want to make any changes, see this section.
Super Admin Demo Account
Username: Super Admin
Password: 123456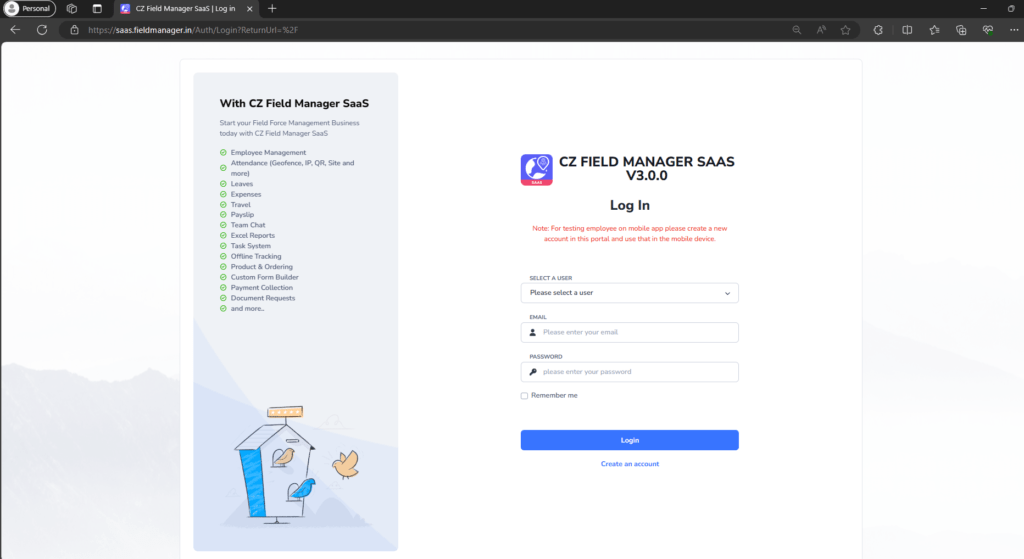
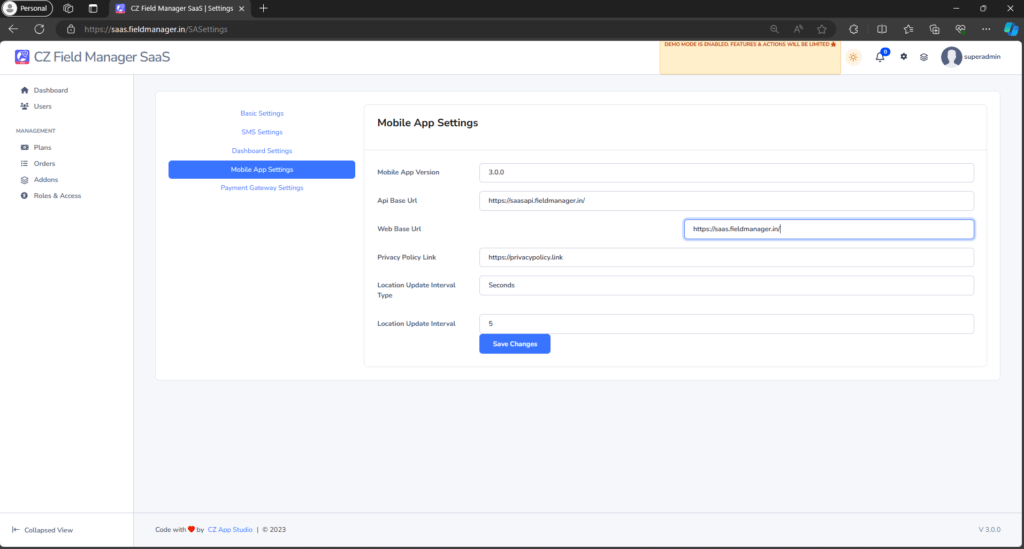
Step 3: Open the Mobile settings and update the API Base URL and Web Base URL.
Tenant Login #
Step 1: Login the tenant using these demo accounts.
Tenant Demo Account
Username: 1tenantadminuser
Password: 123456
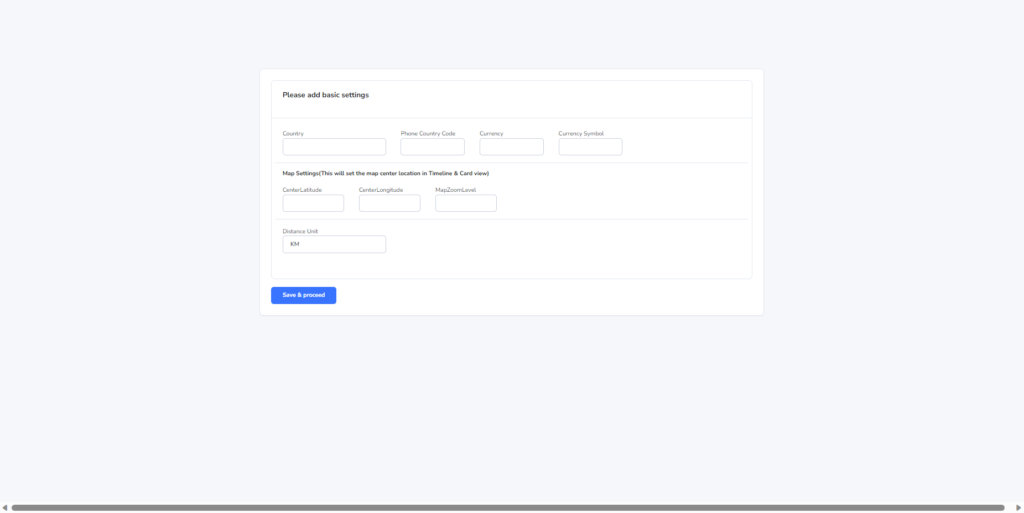
Step 2: You are redirected to the settings page, Fill in the details and click save.
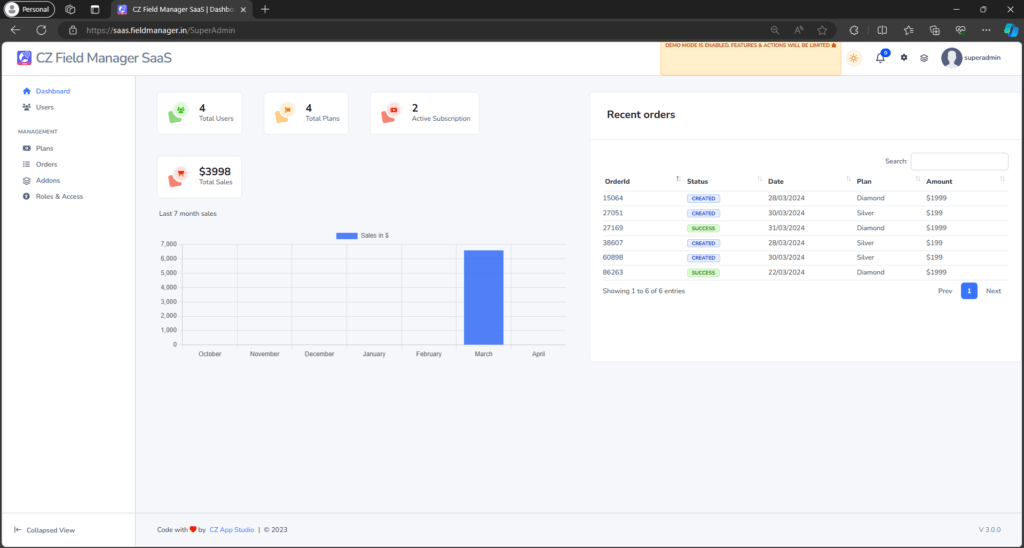
Step 3: Once the settings are saved, you can see the Dashboard.

Running the API Project #
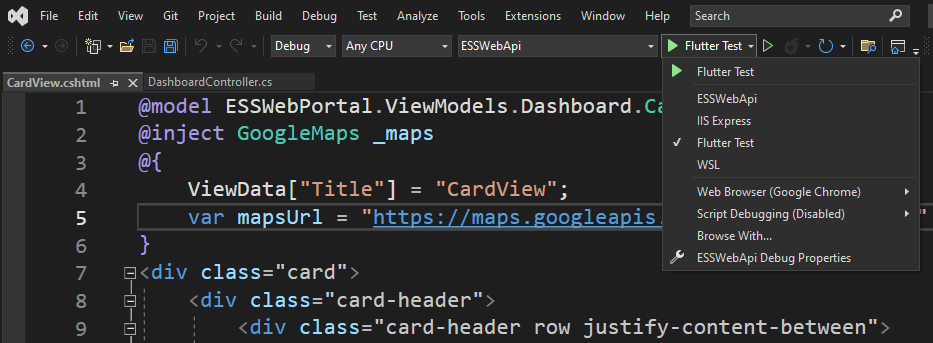
Step 1: To run the API Project just click on the Project selection drop-down and choose the ESSWebApi Project.

Step 2: To run Flutter Test is selected then click to run the API project.
(Make sure that you have changed the DB connection string in the ESSWebApi Project.)
Once it launches try accessing the swagger documentation of the API project by http://your-ip:44317/swagger (ex: http:192.168.10.111:44317/swagger)
Note:
You can also run these two projects at the same time by right-clicking the solution from the solution explorer and then clicking on properties and selecting the multiple startup projects.


