
جميع الأدلةالإدارة
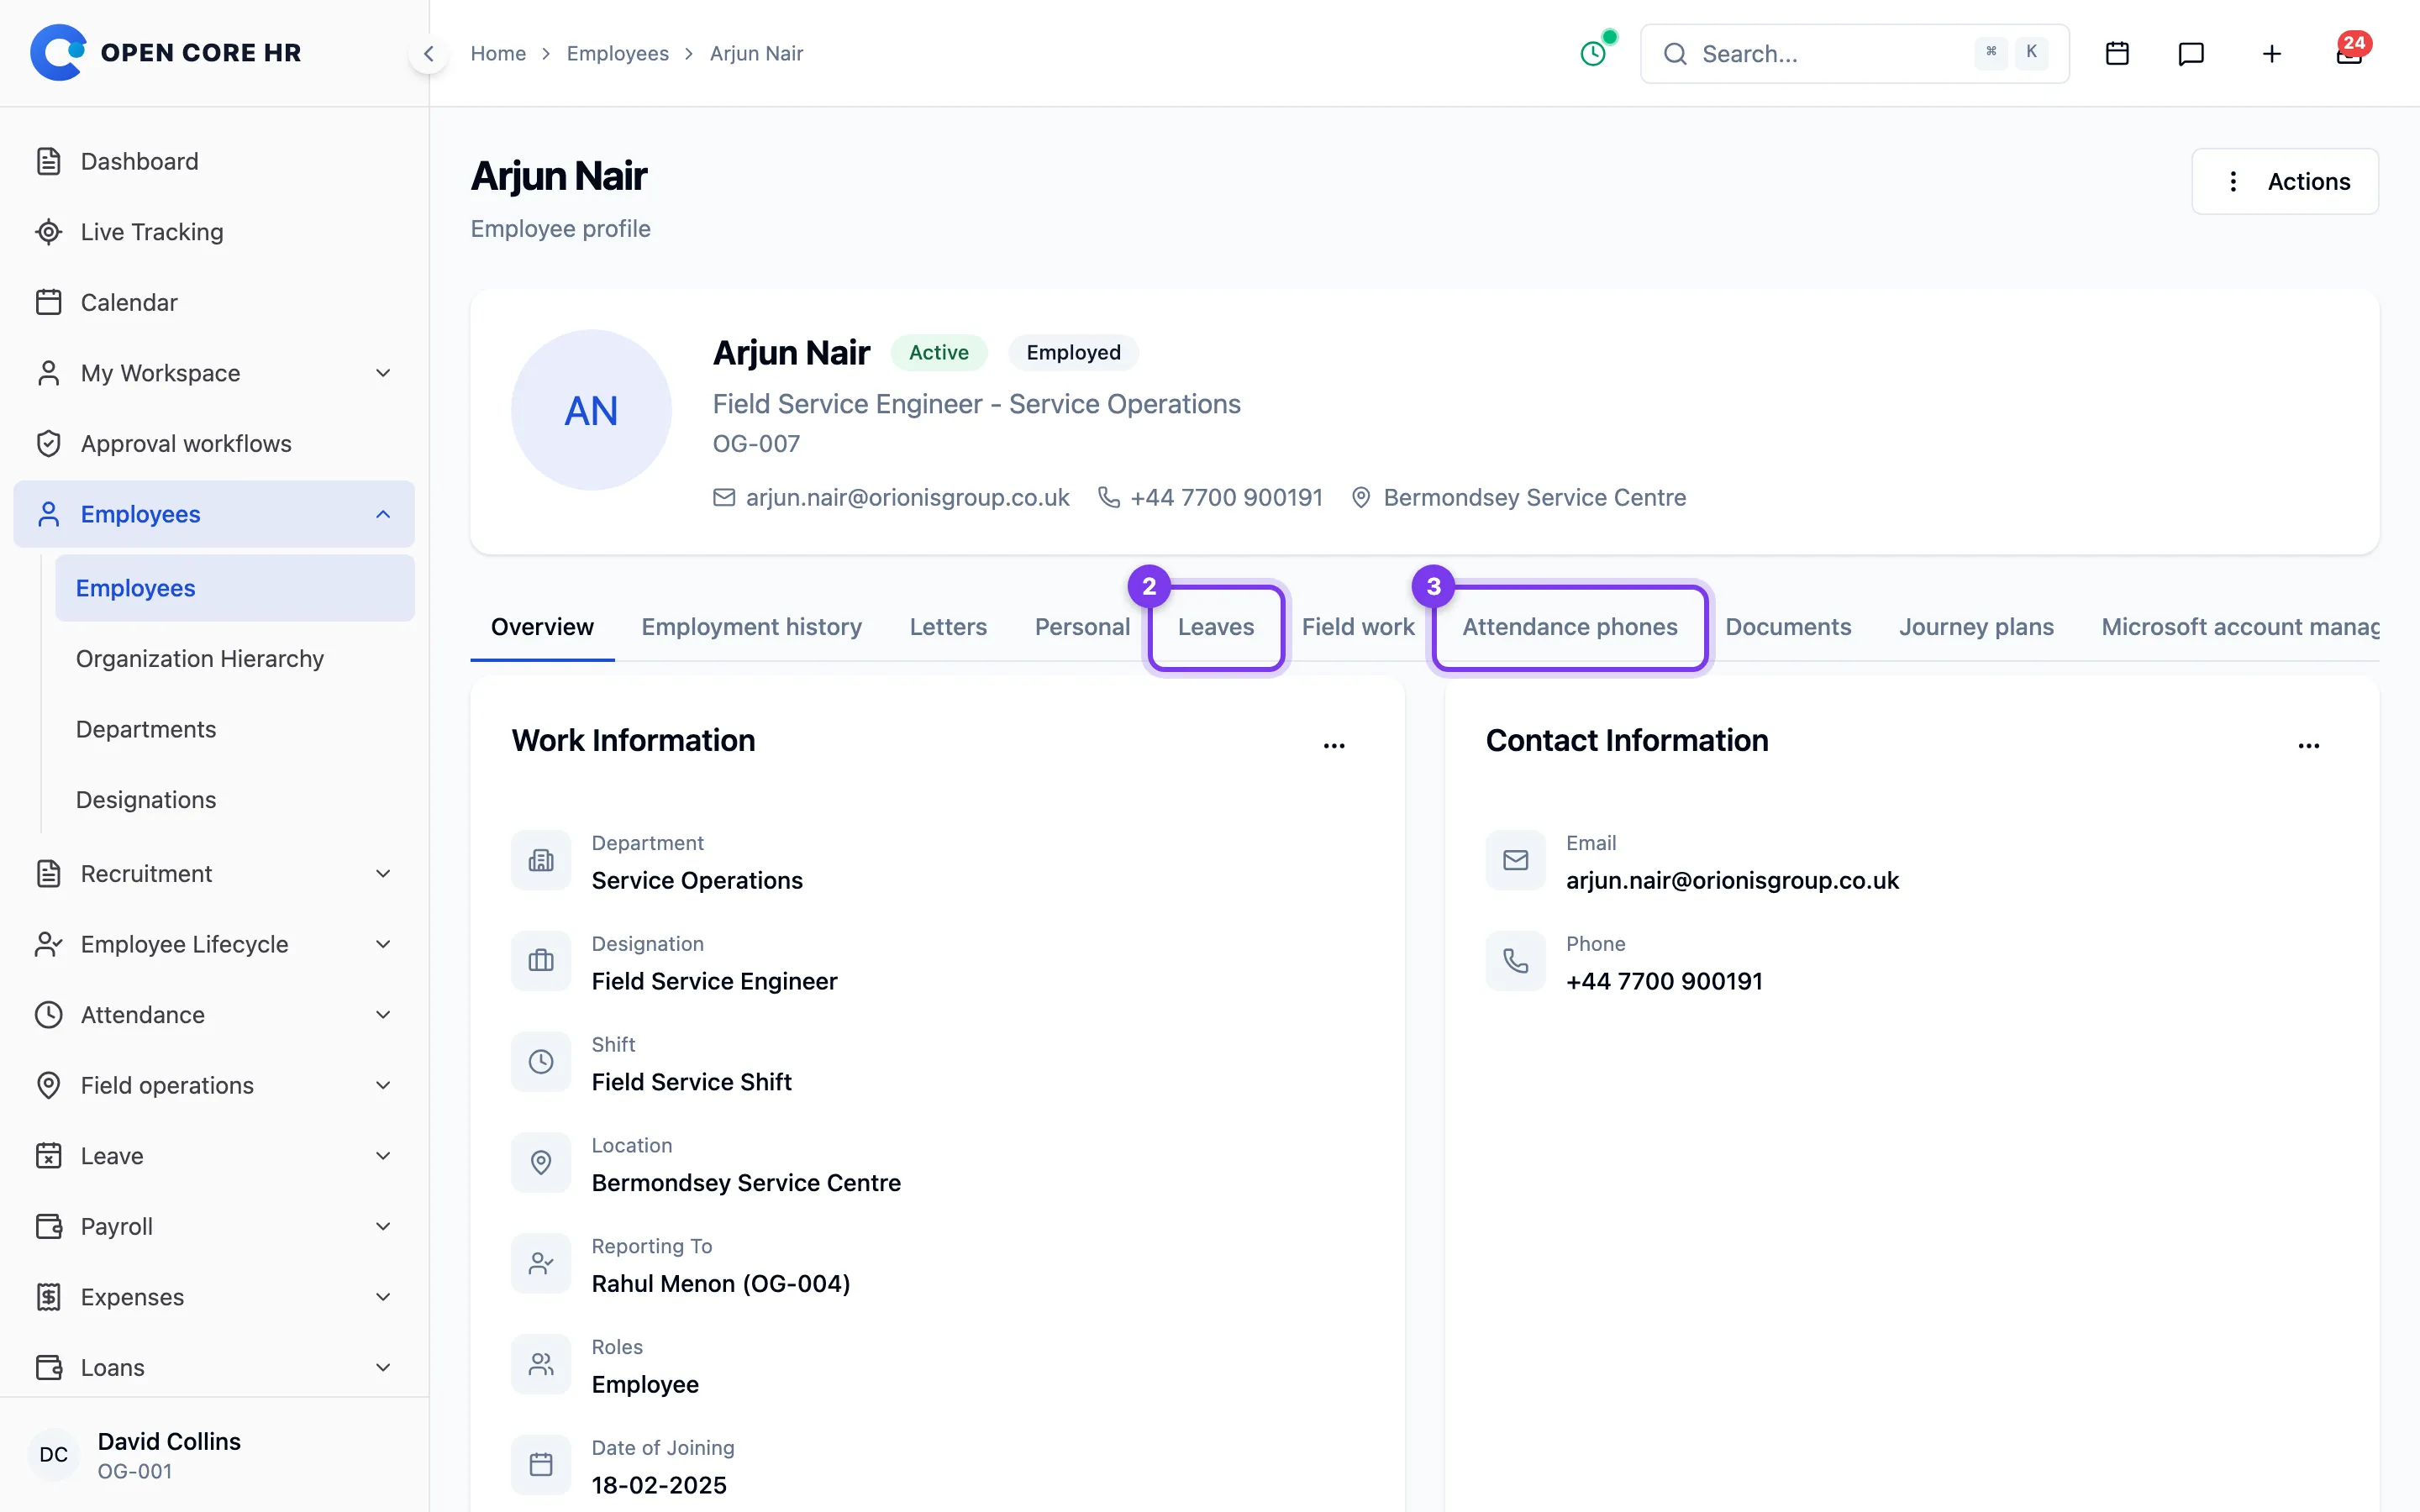
The employee profile
Maintain an employee's identity, work, compensation, personal, contact, bank, leave, device and location details.
Use an employee's profile as the current record of their identity, work assignment, private contact information, and employment terms. Open it from Employees after checking the employee code to avoid changing a person with a similar name.
Manage each type of information where it belongs:
- Identity and work contacts are used to identify and contact the employee.
- Work information determines the employee's department, role, manager, location, and joining arrangements.
- Personal information and emergency contact are private.
- Compensation records agreed pay terms and requires compensation access.
- Bank accounts, documents, and leave balances have their own controls.
Account access and employment status are independent. Use access controls to invite, enable, or disable sign-in. Use lifecycle records for onboarding, employment changes, and separation. Review the employee audit log when you need to understand a previous change.
Editing identity and work contact details
Open the employee from Employees and edit their contact information when their name, work email, work phone, or employee code changes. The work email is also the sign-in identifier, so check the spelling and tell the employee when you change it.
Work contact information is available to colleagues through the directory. Put a private number in Personal Phone, not the work phone field. Store a private email in Personal Email.
Names and email must meet the form's validation. A new employee code must not be used by any other employee, including deleted ones. Imports match employees by code, so use the new code in later import files. Optional details may be left blank. Use the deployment's supported phone format; there is no universal ten-digit requirement.
For private details, see Personal information. For a change of role, manager, or joining date, see Work information.
Editing work information
Open the employee profile and edit Work information to maintain department, designation, shift, location, reporting manager, roles, and joining date. These details are optional; remove an assignment when it no longer applies instead of creating placeholder organisation records.
Roles control application access and can be changed only by someone allowed to assign them. Saving other profile sections leaves roles unchanged. Removing all assigned roles may remove the employee's app access even while the account remains active.
Use an employment change when an organisational or pay change needs an effective date and approval. For a correction to the current record, edit the profile directly. Neither action should be used to disable account access or record a separation.
Maintaining current compensation
Current compensation records the agreed amount, currency, pay period, and effective date. The pay period explains whether the amount is hourly, daily, weekly, monthly, or yearly; always check it before comparing amounts.
Open the employee's profile and edit compensation if your permissions allow it. Enter the agreed amount with its currency and pay period, then the date from which it applies. Enter a reason when changing existing terms. Each saved change adds to compensation history. Use an employment change when the change needs approval.
Compensation is restricted to the employee and users with compensation access. Directory access alone does not grant access to pay. This record captures agreed terms; it does not calculate payroll, tax, statutory deductions, or a payslip.
Maintaining private personal information
Record only the personal information your organisation needs to support the employee. Date of birth, gender, address, personal email, and personal phone are optional.
Open the employee's profile and edit the relevant personal or contact section. A personal email or phone is separate from the work contact information used in the colleague directory. Check the employee's preferred contact details before replacing them.
Personal information is available to the employee and authorised HR users. It is not part of colleague directory or Connect contact responses. Collect emergency contact information separately; see Emergency contacts.
Maintaining an emergency contact
Keep one current emergency contact for the employee: their name, phone number, and relationship to the employee. These details are optional; ask the employee to supply accurate information and confirm that the person is appropriate to contact.
Open the employee's profile and edit Emergency Contact. Update the name and number together when the contact changes. Use the supported phone format for your deployment, including a country code where needed.
Emergency contact information is private HR information. It is not shown in the colleague directory or Connect contacts. Employees can keep their own emergency contact current from their profile.
Employee bank accounts
The Bank tab on an employee's profile holds the bank account used for their pay.
Steps
- Open the employee's profile from Employees.
- Go to the Bank tab. The Bank Account Details card shows the account name, bank name, branch, account number, and the bank identifiers — or a note if nothing is on file yet.
- Click the edit (pencil) button on the card.
- In the Edit Bank Account panel, check the Account Holder Name. Leave it empty to use the employee's name. Enter the Bank Name, Branch and Account Number, which are all required, then whichever identifiers your banks use: Bank Code (an IFSC in India, a sort code in the UK, a routing number in the US), IBAN, and SWIFT / BIC. Those three are optional. A bank code may contain only letters, digits, spaces and hyphens. IBAN and SWIFT / BIC must follow their international formats.
- Click Update to save, or Cancel to close without saving.
Tips
- The account holder name is taken from the employee's name automatically.
- The Account Number must be digits only. The identifier fields are stored in upper case and are not checked against any one country's format, so they work wherever you run Open Core HR.
Employee leave balances
The Leaves tab on an employee's profile shows their leave balance for the current year.
Viewing leave balances
- Open the employee's profile from Employees.
- Go to the Leaves tab. You'll see a card for each leave type the employee has an allocation for, showing the year and the Entitled, Used, and Available counts. Cards may also show Carried Forward and Additional days, and a LOP marker with the number of loss-of-pay days if any apply.
- If nothing has been allocated, you'll see "No leave allocations found for this employee."
Setting leave counts
Starting leave counts are set when you first add an employee, on the Leave Allocation step of the Add Employee form. The profile's Leaves tab shows balances only and has no edit control. For ongoing changes to leave balances, use Leave Management → Balance Management from the Human Resources section of the menu.
Employee devices
The Device tab on an employee's profile shows the mobile device they've registered for the Open Core HR app, and lets you remove it.
Viewing the registered device
- Open the employee's profile from Employees.
- Go to the Device tab. The Registered Device card shows details such as Device Name, Device Model, OS Version, App Version, Registered On, Device Type, Device ID, Battery Level, GPS Status, WiFi Status, and Location.
- If the employee hasn't registered a device, you'll see "No device registered for this employee."
Removing a device
- On the Device tab, click Remove Device.
- The device is removed.
Caution: After you remove the device, the employee can't use the mobile app until they register a new one.
Employee work locations
In addition to an employee's main location, Open Core HR can record extra work locations for them. These appear as the HR Locations card on the Overview tab of the employee's profile.
Viewing work locations
- Open the employee's profile from Employees.
- On the Overview tab, look for the HR Locations card. It lists each extra location as a tag. The card only appears when the employee has at least one extra location.
Adding or removing a work location
Note: The HR Locations card lists the extra locations but has no add or remove control on this screen. The employee's main location is set on the Work Information card — see Editing work information.