
All guidesSelf-service
Your profile
View and update your profile, contact details, private details, picture, letters, bank details and status.
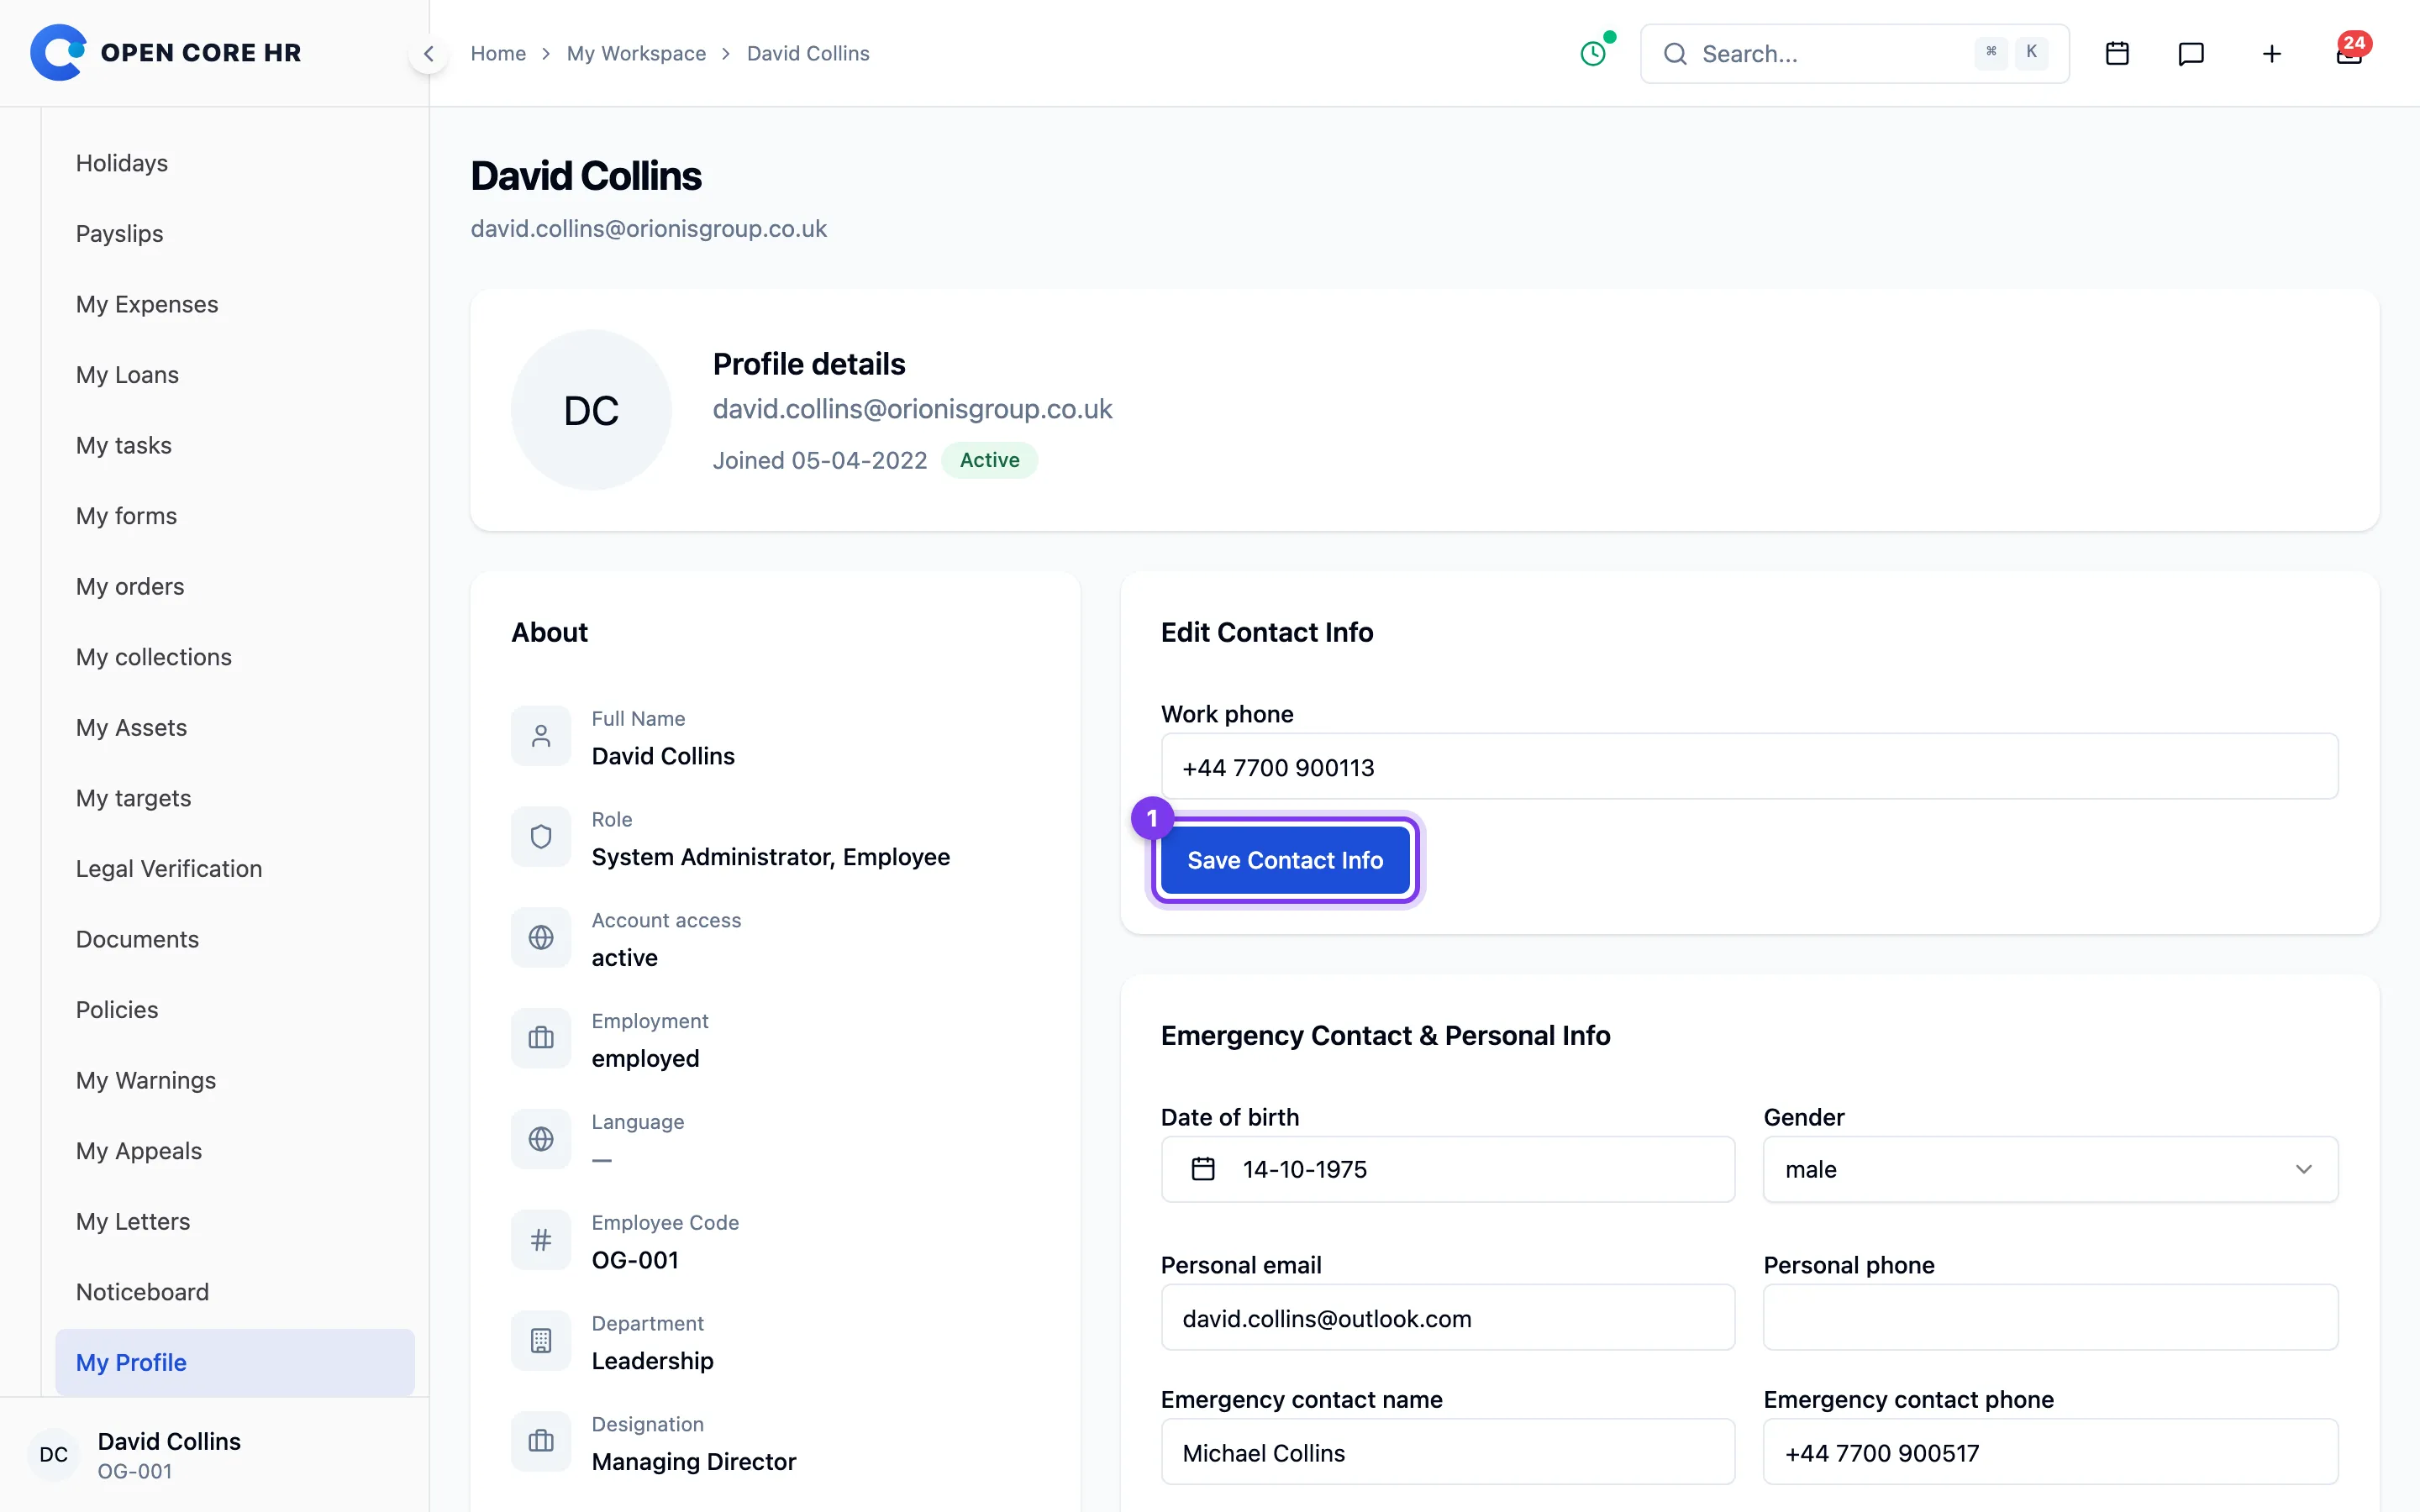
Your profile shows your work and personal details and lets you keep some of them up to date. Open it from the My Profile link in your account menu at the bottom of the sidebar.
- My Profile — Click your name and photo at the bottom of the sidebar, then choose My Profile.
Updating your information
Your department, designation, shift, and reporting manager come from your HR record; contact HR if they need correction.
You can change your profile picture, update contact information, update personal and emergency contact information, or change your password.
Tips
- If a detail under About is wrong (such as your department or who you report to), ask your HR team to correct it — you cannot edit those fields yourself.
- Anything you can change has its own Save button. Changes aren't kept until you click it.
Updating your contact information
Use My Profile to keep the contact details you can edit current. Your work phone is a colleague directory contact. Use the separate personal phone and personal email fields for private contact details.
Check your information before saving, including any country code your organisation needs. Optional fields can be cleared if they no longer apply. Ask HR to correct your name or sign-in email when those fields are not editable.
For emergency contact and other private information, see Updating your private details.
Updating your private details
Keep your personal contact information and emergency contact current in My Profile. Your private email and phone are separate from the work contacts colleagues use to reach you.
Update the optional personal fields your organisation needs: date of birth, gender, address, personal email, and personal phone. For an emergency contact, provide the person's name, phone number, and relationship to you. Check the number with them before saving.
Your private profile details are available to you and authorised HR users. They are not included in colleague directory or Connect contacts. If a detail is managed by HR and you cannot edit it, ask HR to correct it.
Changing your profile picture
You can upload or replace your profile photo from your profile page. It's the round photo at the top of the page.
Steps
- Open My Profile from the account menu at the bottom of the sidebar.
- Move your pointer over the photo at the top of the page — a camera icon appears.
- Click the photo.
- Choose an image file from your device.
In the mobile app, open Me, tap your photo (or your initials if you have no photo yet) and choose a photo from your phone. Until you add one, your initials are shown instead.
Tips
- Use a JPG or PNG image, up to 2 MB.
- Uploading a new photo replaces the old one.
Troubleshooting
- "Failed to update profile picture" — check that the file is a JPG or PNG and under 2 MB, then try again.
Reading your employment letters
Open My Letters to read and download the employment letters available to you, including offers, appointments, confirmations, employment changes, and separation letters. Existing letters remain available when their originating module is disabled.
Check your name, role, effective date, and any pay terms. Ask HR to correct an inaccurate record before relying on a downloaded copy. A previously downloaded file does not update when HR changes the record.
For warnings and acknowledgments, use My Warnings.
Your bank details
This page is where you record the bank account used for your salary. Open it from Bank Details.
Availability: This area may not be turned on for your company yet. If you don't see it in your menu, it isn't enabled — check with your HR team.
Steps
- Go to Bank Details.
- Select Add Bank Details (or Edit if you've added an account before).
- Fill in Bank Name, Branch and Account Number, then whichever identifiers your bank uses: Bank Code, IBAN or SWIFT / BIC. Leave Account Holder Name empty to use your own name.
- Select Save Bank Details. To leave without saving, select Cancel.
Tips
- For your security, your account number is shown partly hidden once saved — only the last few digits stay visible.
- Updating these details replaces what was there before. Make sure the new details are correct so your salary isn't delayed.
Signing in with a passkey
A passkey lets you sign in to the web application with your fingerprint, face or screen lock instead of typing your password. It is saved on your device or in your password manager. The mobile app signs in with your email address and password.
Add a passkey
- Open My Profile and find the Security card.
- Select Add a passkey and enter a Name that helps you recognise the device, such as "Work laptop".
- Enter your Current password, select Continue and confirm with your device's prompt.
Sign in or remove a passkey
- On the sign-in page, select Sign in with a passkey, choose your account in the prompt and confirm. Your password keeps working on devices that have no passkey.
- To remove one, open its menu in the Security card and select Remove. Do this when you stop using a device or lose it.
Troubleshooting
- There is no "Sign in with a passkey" button — your browser cannot use passkeys. Update it, or sign in with your password.
- "We couldn't sign you in with that passkey" — the passkey was removed from your profile or belongs to another account. Sign in with your password and add a new one.
Your status
Colleagues see a small coloured dot next to your name in conversations, calls and your profile, so they know whether you can be reached right now. Statuses appear when Chat, Calls, Feed or Outlook Email is turned on for your company.
| Status | When it shows |
|---|---|
| Available | You have the app or the website open. |
| Busy / Do not disturb | You chose it yourself. |
| On a call | You are on a voice or video call in the app. |
| In a meeting | Your calendar has a meeting right now that you have not declined. |
| On a break | You are checked in and have started a break. |
| On leave | You have approved leave right now. A half day or a few hours off shows only while it lasts. |
| Out of office | Today is a public holiday or one of your days off, and you are not using the app. |
| Offline | You closed the app, signed out or lost your connection for a few minutes. |
Most of this happens on its own. Leave, meetings, breaks, holidays and days off are shown automatically, so you do not need to change anything when you start or finish work, go on leave or join a meeting.
Set Busy or Do not disturb
- In the mobile app, open Me and tap the status row under your name. On the website, open the account menu at the bottom of the sidebar and select your status at the top of the menu.
- Choose Available, Busy or Do not disturb.
- Optionally type a short message, such as "Back at 3". Colleagues see it next to your status.
- Under Clear after, choose how long it should last, then save.
When the time is up, your status and message clear by themselves. Choose Available to clear a status sooner, or Clear message in the mobile app to remove only the message.
A call always shows as On a call; your own choice returns when the call ends. If you leave the app while Busy, colleagues see Offline until you come back. A message stays with whatever status is showing, including On leave, so you can say when you are back.